
If you want to make a loaf with freshly milled flour, you’re in the right place!
Recently, there have been more people speaking about freshly-milled flour than I ever heard in all of my life. It makes sense why! Whole wheat flour is healthier than white flour because it has the whole wheat berry- the germ, bran, and endosperm. Refined white flour only has the endosperm in it, which means the nutrient-dense parts of the wheat are missing. Freshly milling the grains is even more beneficial because the nutrients in flour deteriorate over time. The majority of the vitamins and minerals get oxidized within the first three days.
I’ve experimented with a lot of different recipes using freshly-milled flour and this one is our favorite for the artisan loaf. Using half white flour helps the loaf to be fluffy, while the freshly milled whole wheat flour offers a lot of nutritional value.
*Disclaimer: As Amazon Associates, we earn a small commission from qualifying purchases at the same price for you! Thanks for your support!
What You’ll Need
- a kitchen scale
- a grain mill or grain mill attachment to stand mixer
- a Dutch oven
- a lame
- wire rack
Ingredients:
- 100 g sourdough starter
- 250 g all-purpose flour
- 250 g freshly-milled hard white wheat flour
- 375 g water
- 10 g salt
Instructions:
- Combine the flours and water in a bowl and allow it to rest for about 45 minutes before adding the rest of the ingredients.
- Add in the starter and salt and pinch the dough to incorporate evenly.
- Cover the dough and let it rest for 30 minutes.
- Grab the top of the dough and stretch it up and fold it into the center. Twist the bowl a quarter turn and do this with all four sides of the bough.
- Now, every 30 minutes perform a series of stretch and folds three times.
- After the third stretch and fold series, let the dough rise until doubled, which usually takes 4-6 hours.
- Turn the dough onto a floured surface. Pre-shape the dough by pinching the sides together and forming into a ball. Let it rest for about half an hour.
- Shape the dough into the final loaf by using the cup-and-turn technique to build tension that will help the bread rise better in the final proof.
- Transfer the dough into a floured banneton and cover with plastic wrap. Place the banneton into the fridge for 8-12 hours.
- With the Dutch oven in the the oven, preheat the oven to 450 degrees.
- Take the dough out of the fridge and invert onto a sheet of parchment paper.
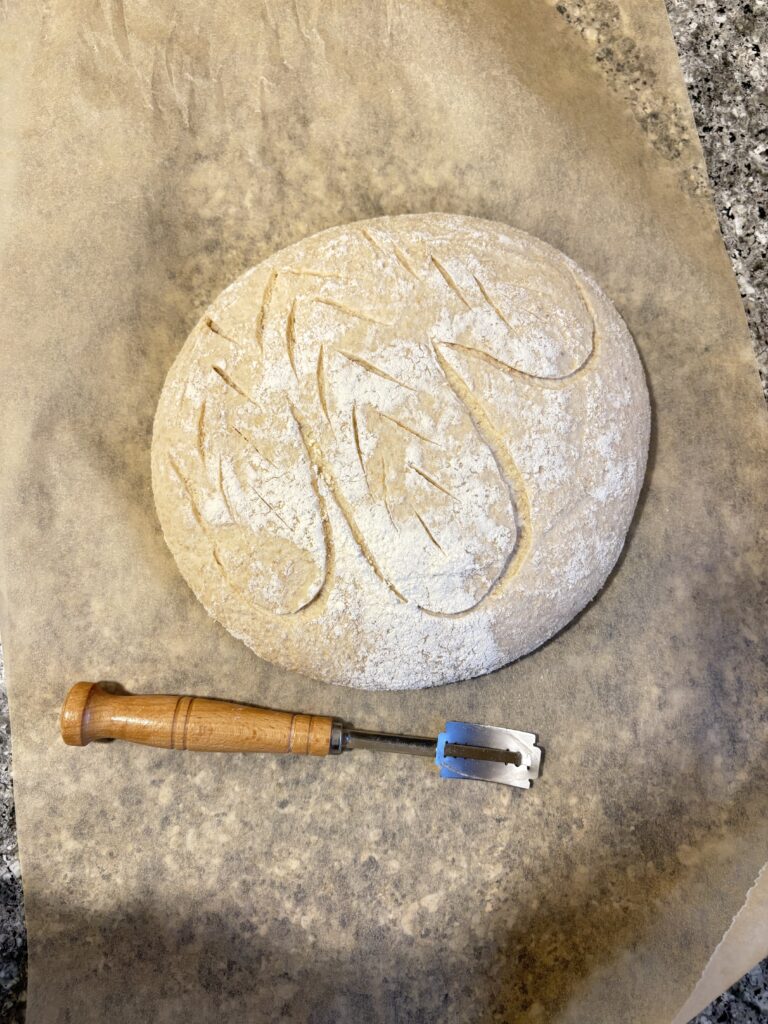
- Score the dough with a lame. Make one deep cut and smaller ones for a design if you want.
- Use the parchment paper to pick up the dough and place inside the hot Dutch oven.
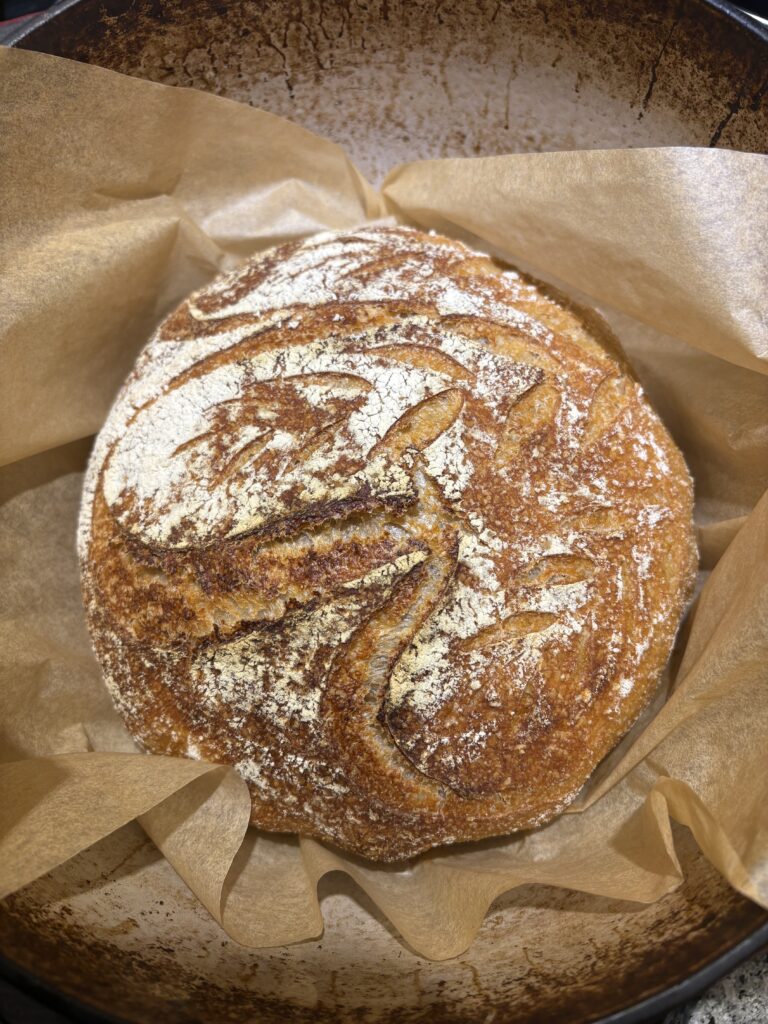
- Bake for 25 minutes with the lid on. Then, take off the lid and bake for an additional 25 minutes, until the bread loaf is golden brown.
- Transfer the bread to a wire rack. Allow at least an hour to cool before slicing:)
Photo Tutorial
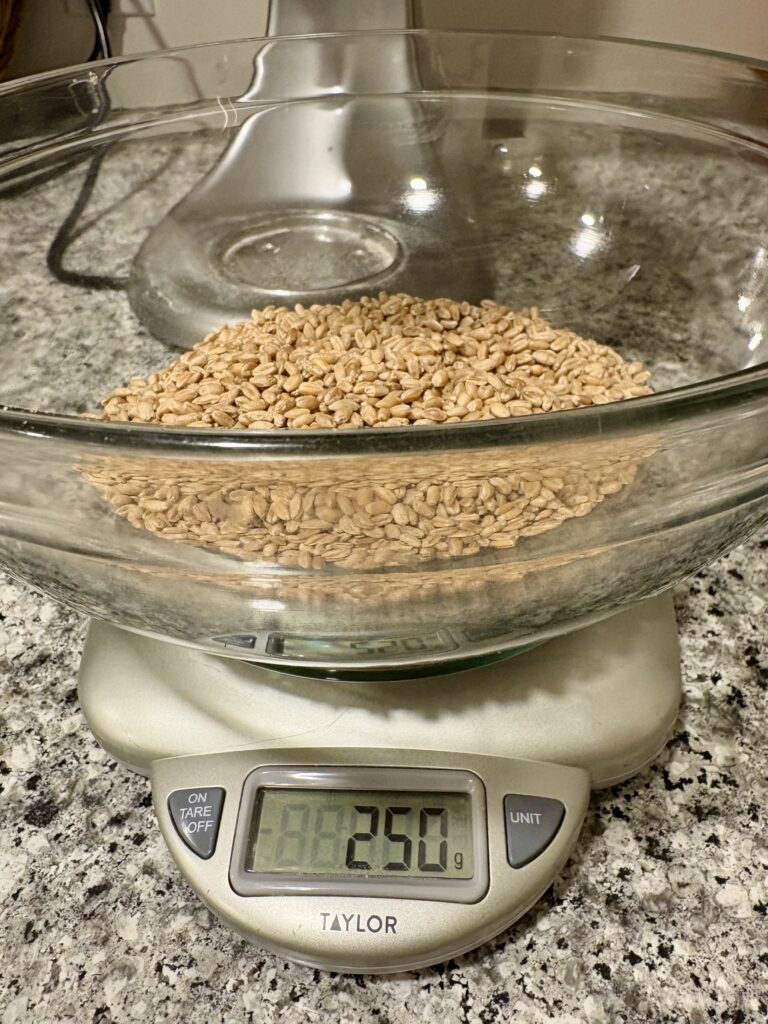
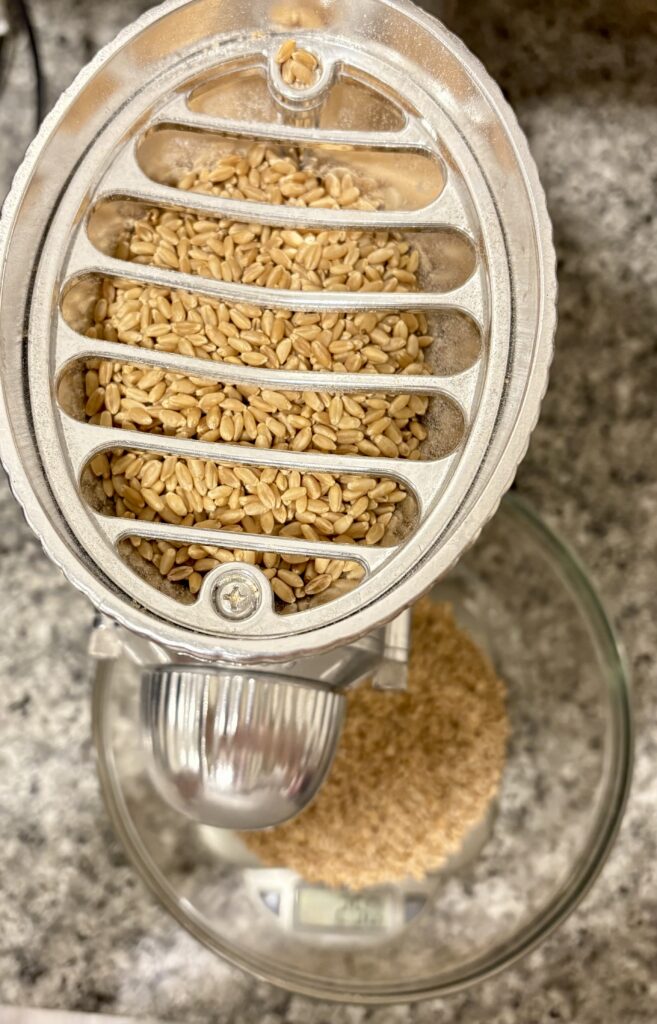
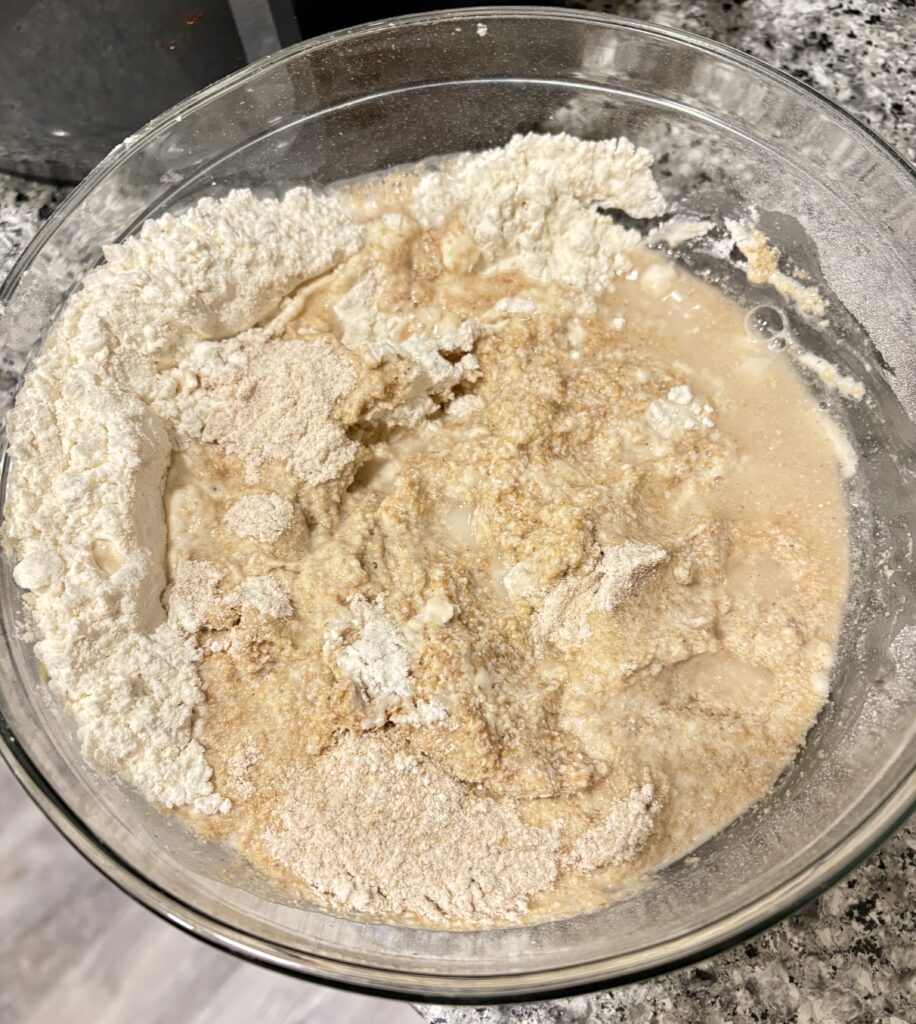

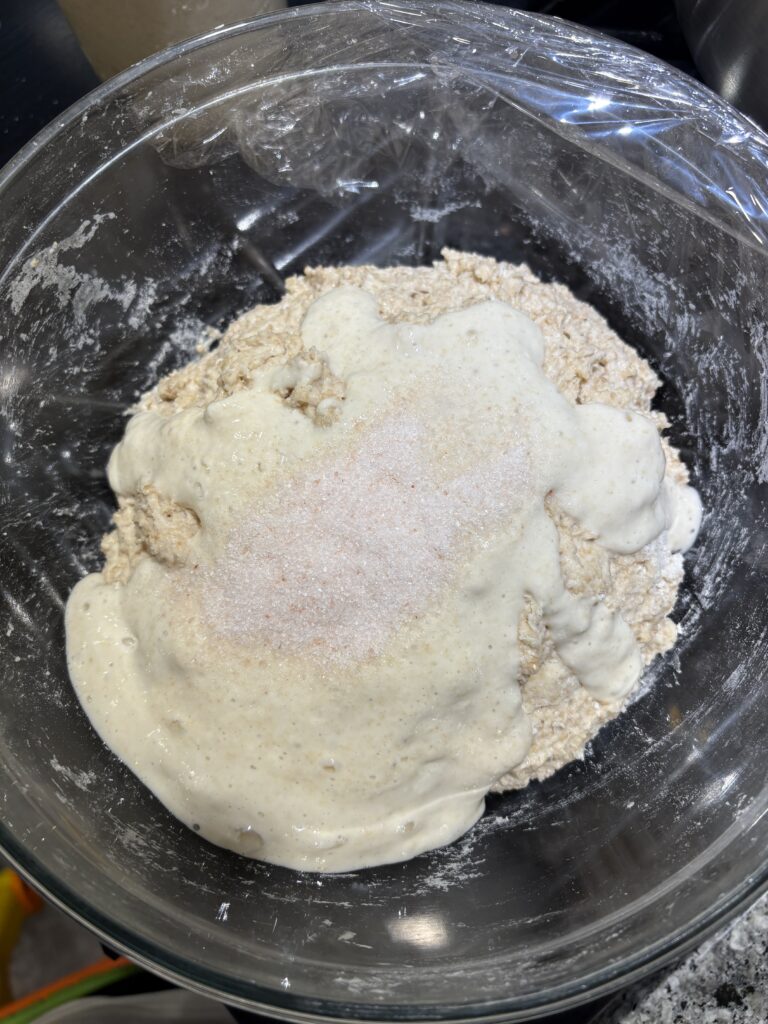
In this gallery above, I first weigh my wheat berries and then freshly mill them. This is the process of combining all of the ingredients until we get the dough ball that needs to rise.
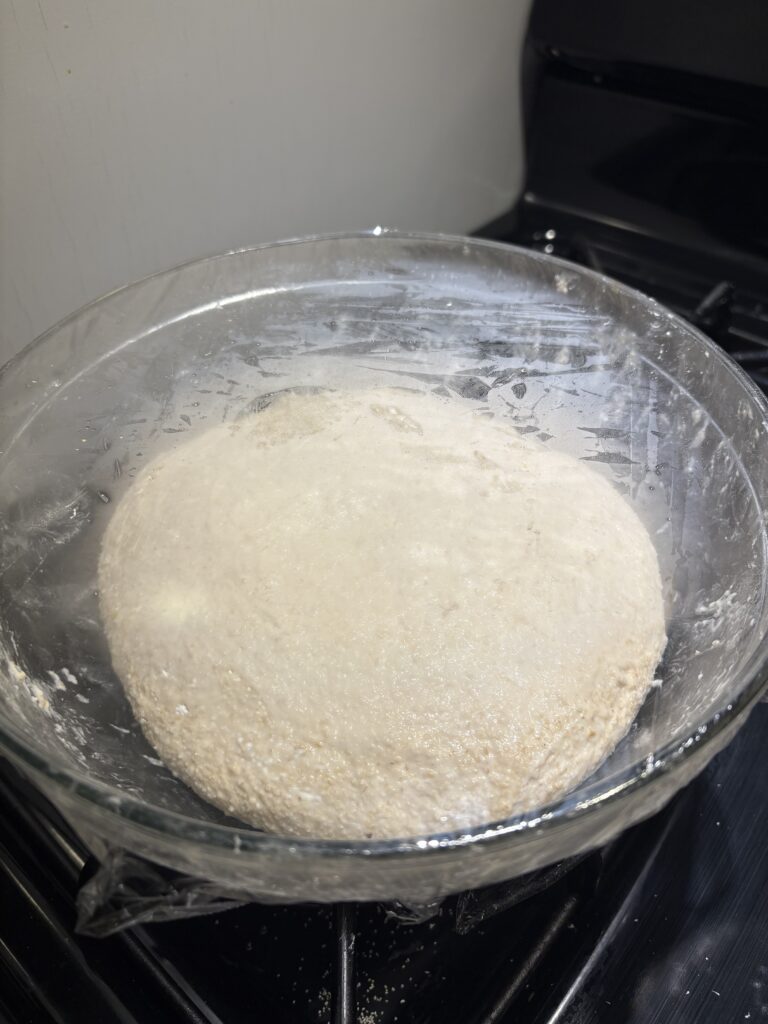
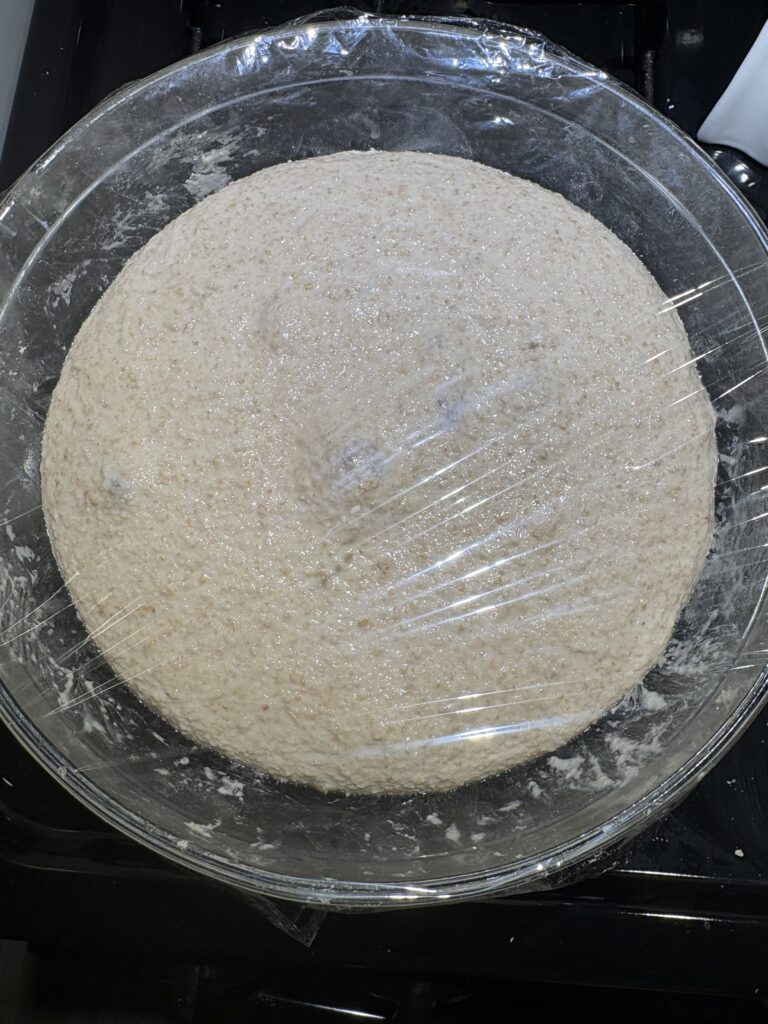
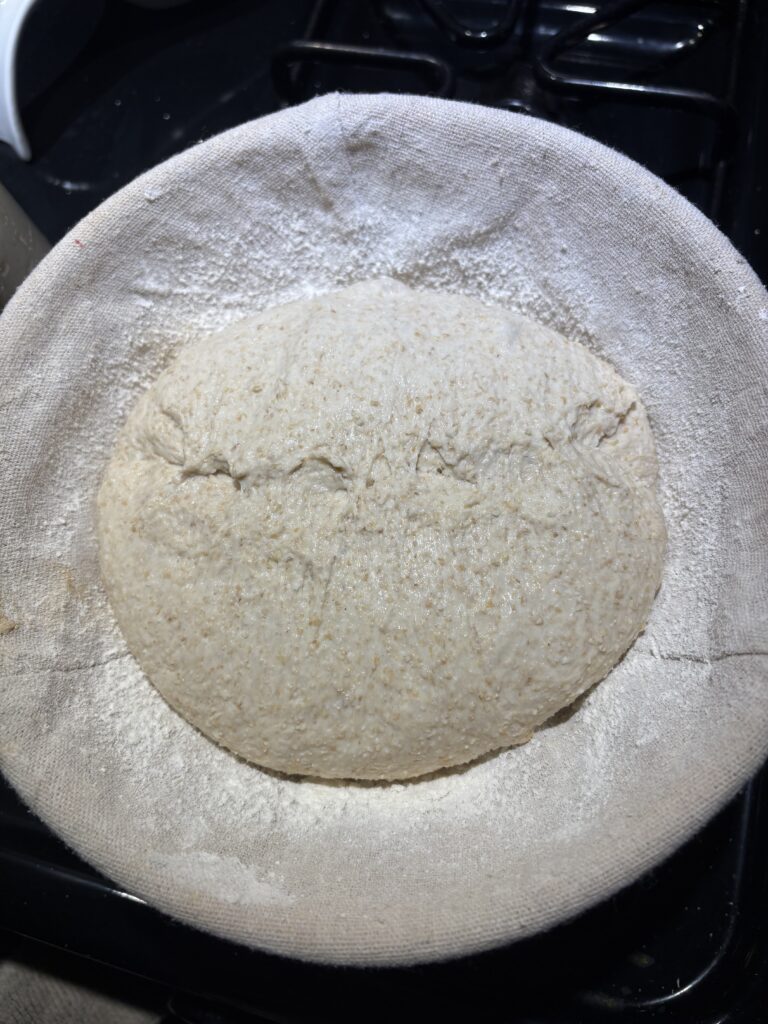
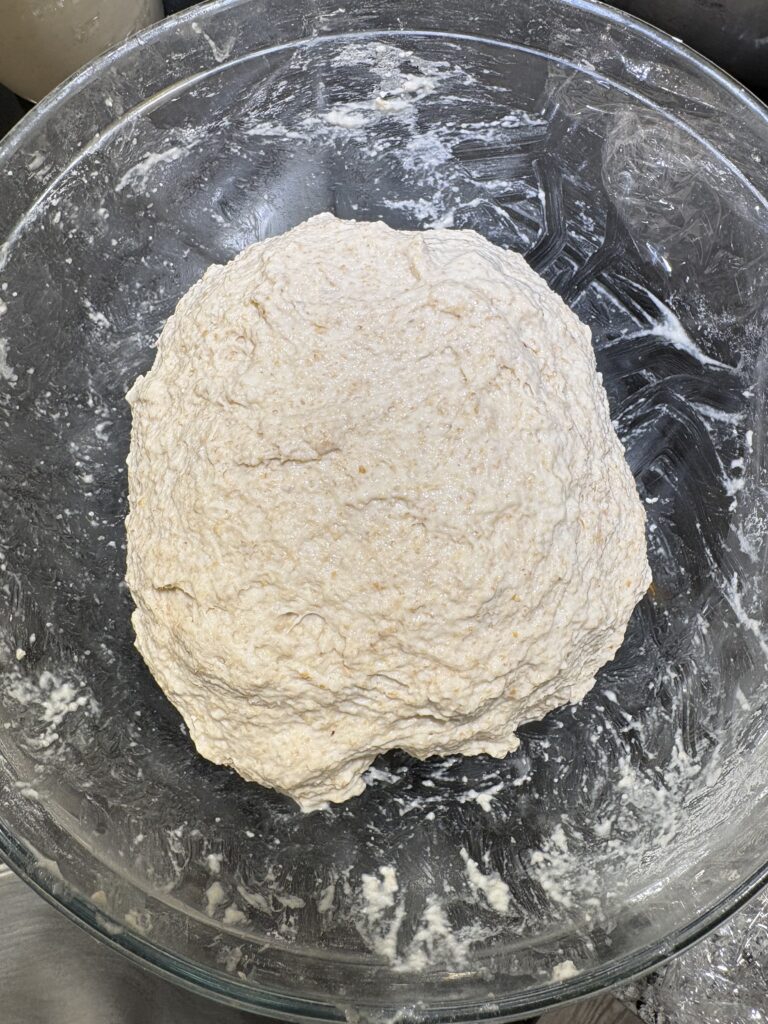
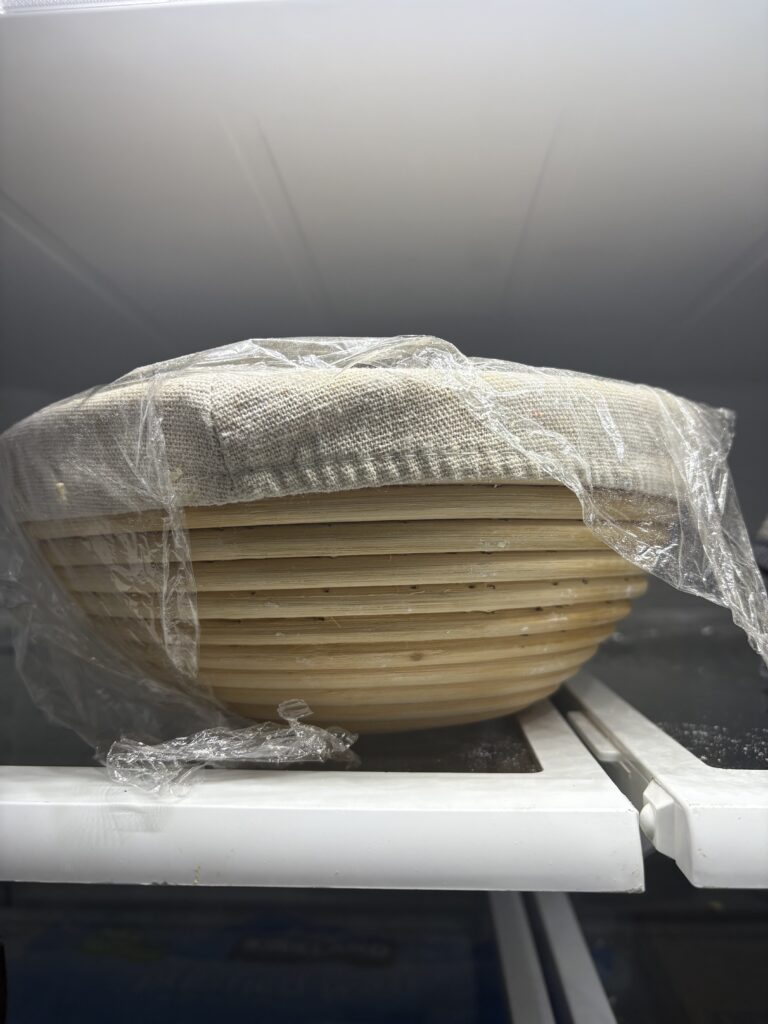
I didn’t take any photos of doing the stretch and folds because it’s hard to snap shots with one hand while doing the task with the other. There are lots of videos on Youtube demonstrating the stretch and fold technique should you have any questions. This first photo above is how my bread dough looked after all of the rounds of stretch and folds. The next photo is how it looked after six hours of rising. It nearly doubled, even though it’s hard to see on the images.
Lastly, I shaped the dough and placed into the floured banneton for the cold proof in the fridge overnight.
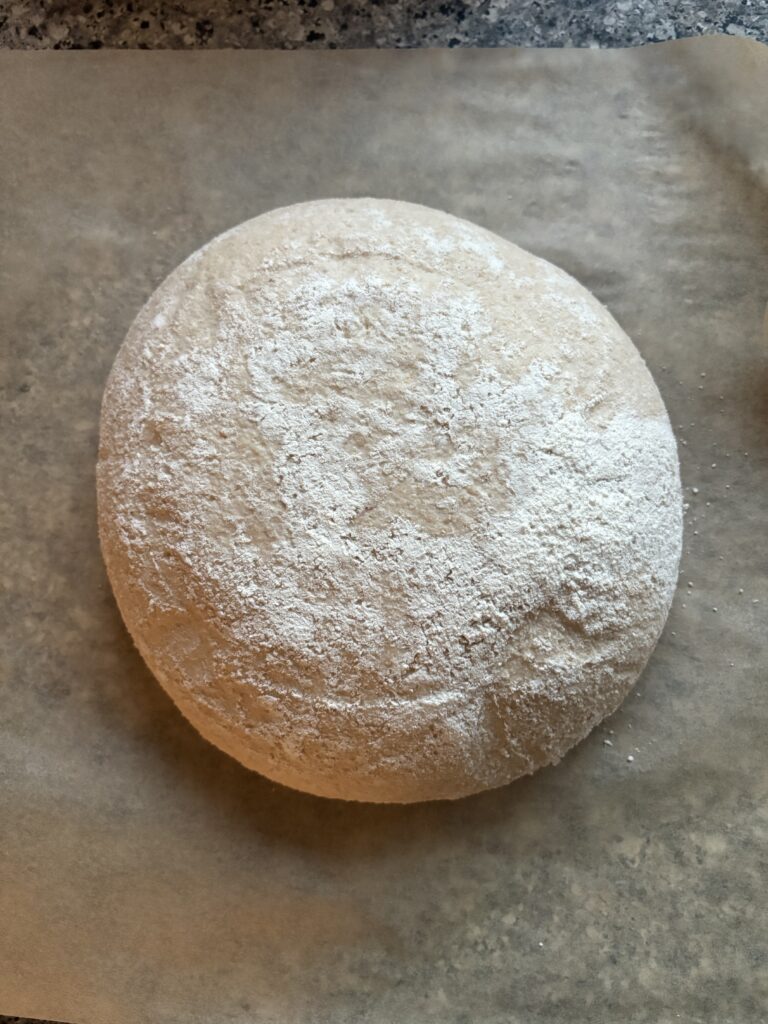
After the overnight cold proof, I inverted the cold dough onto a parchment paper sheet. At this point, my Dutch oven was already preheated in the oven. The dough is now ready to be scored and baked!
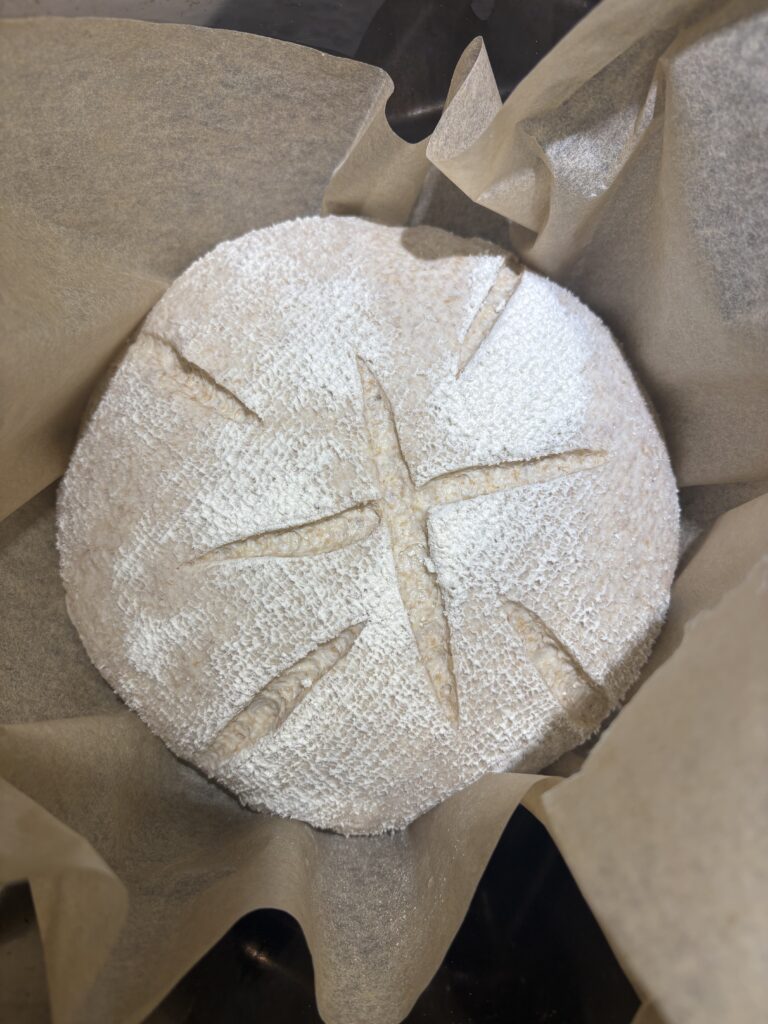
Conclusion
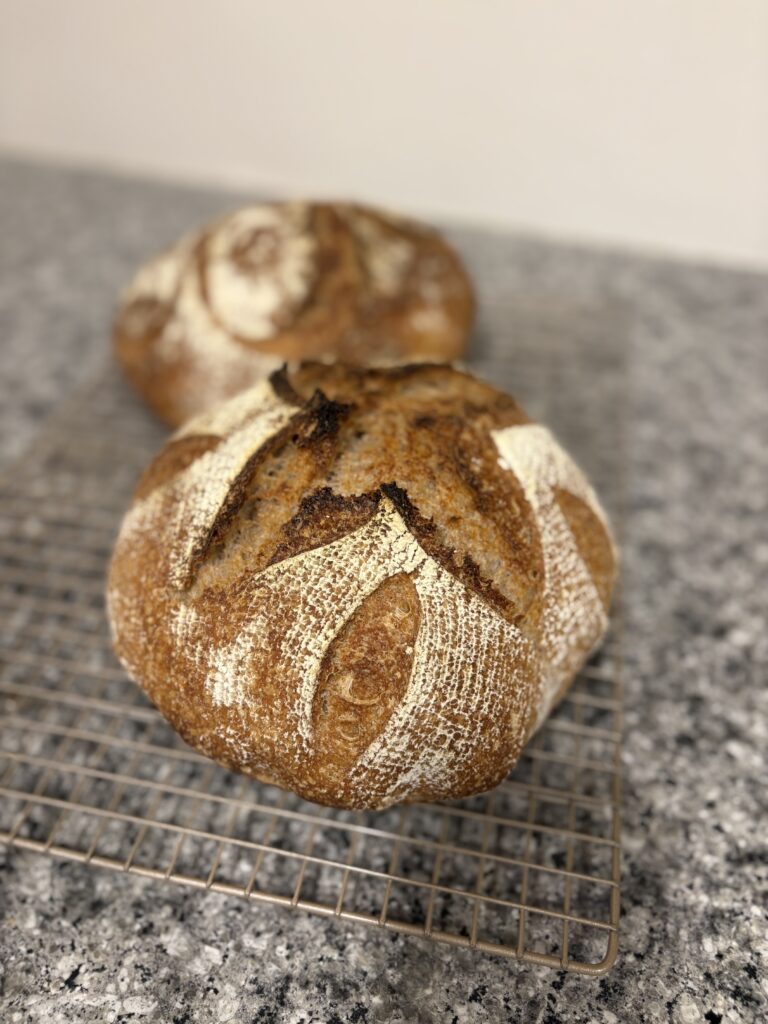
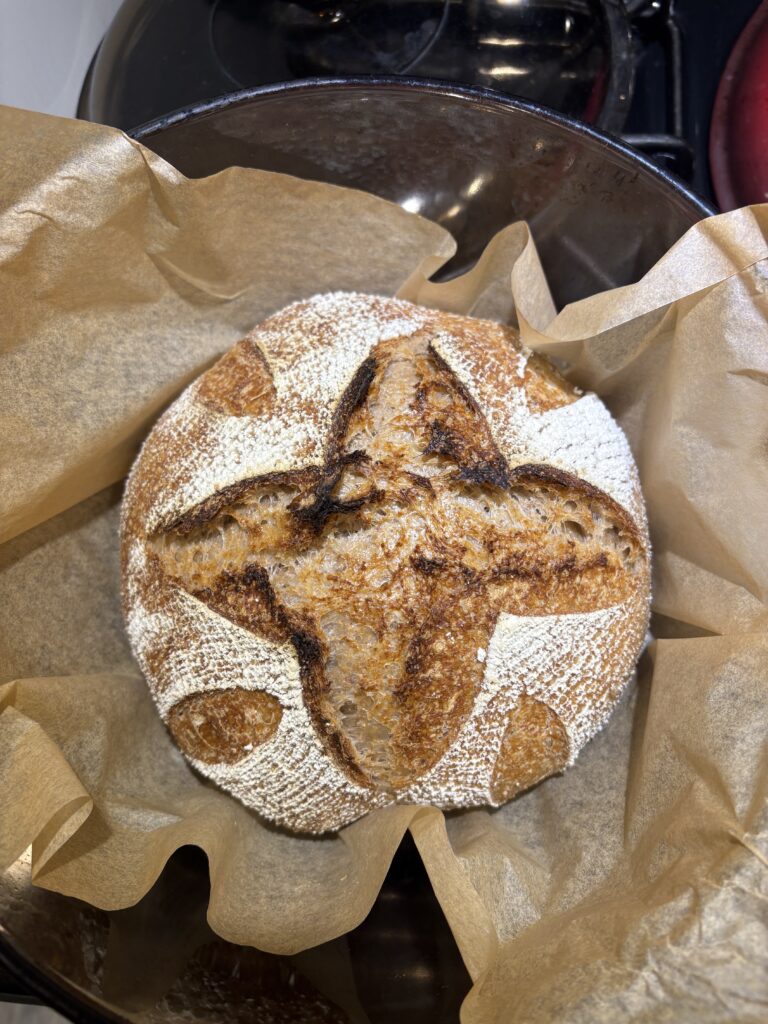
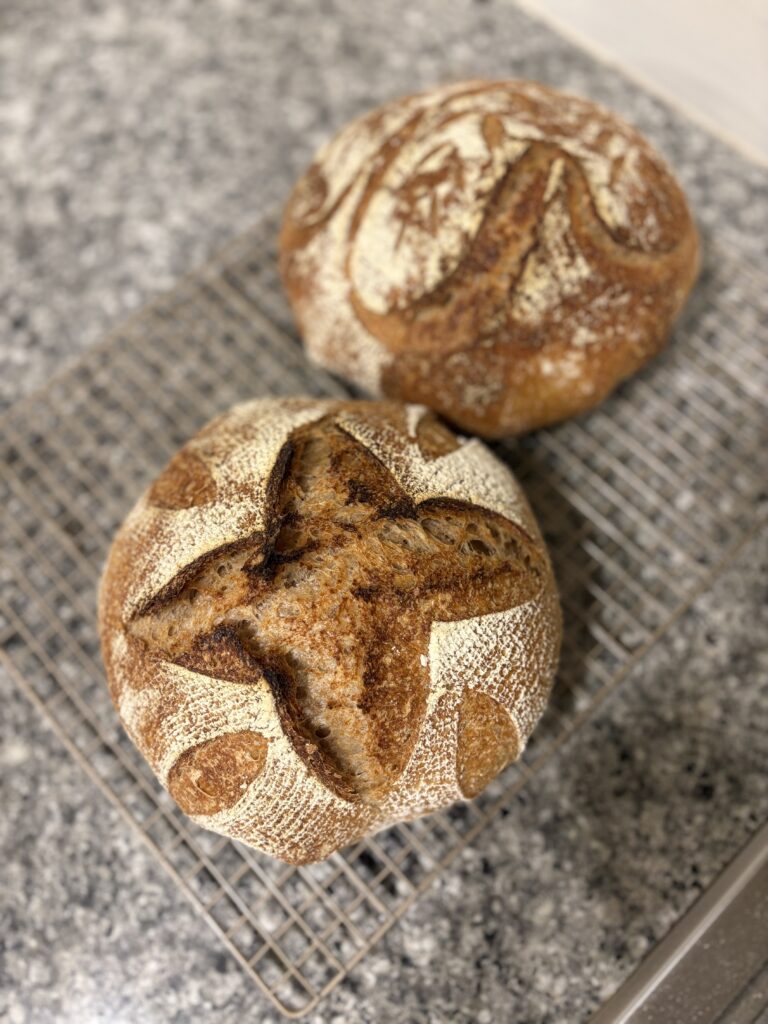
This recipe makes one artisan boule, but I whipped up two portions to have bread for the week for our family. I also wanted to show you two different designs and how they turn out after baking. I have so much fun experimenting with different scoring designs! This time I tried the cross design and the scalloped design. For the design to turn out more pronounced, sift some white flour on top of the loaf before scoring.
Let us know down in the comments if you’re into milling your own grains! We hope you enjoy this recipe and it becomes a staple in your kitchen:)
Leave a Reply