
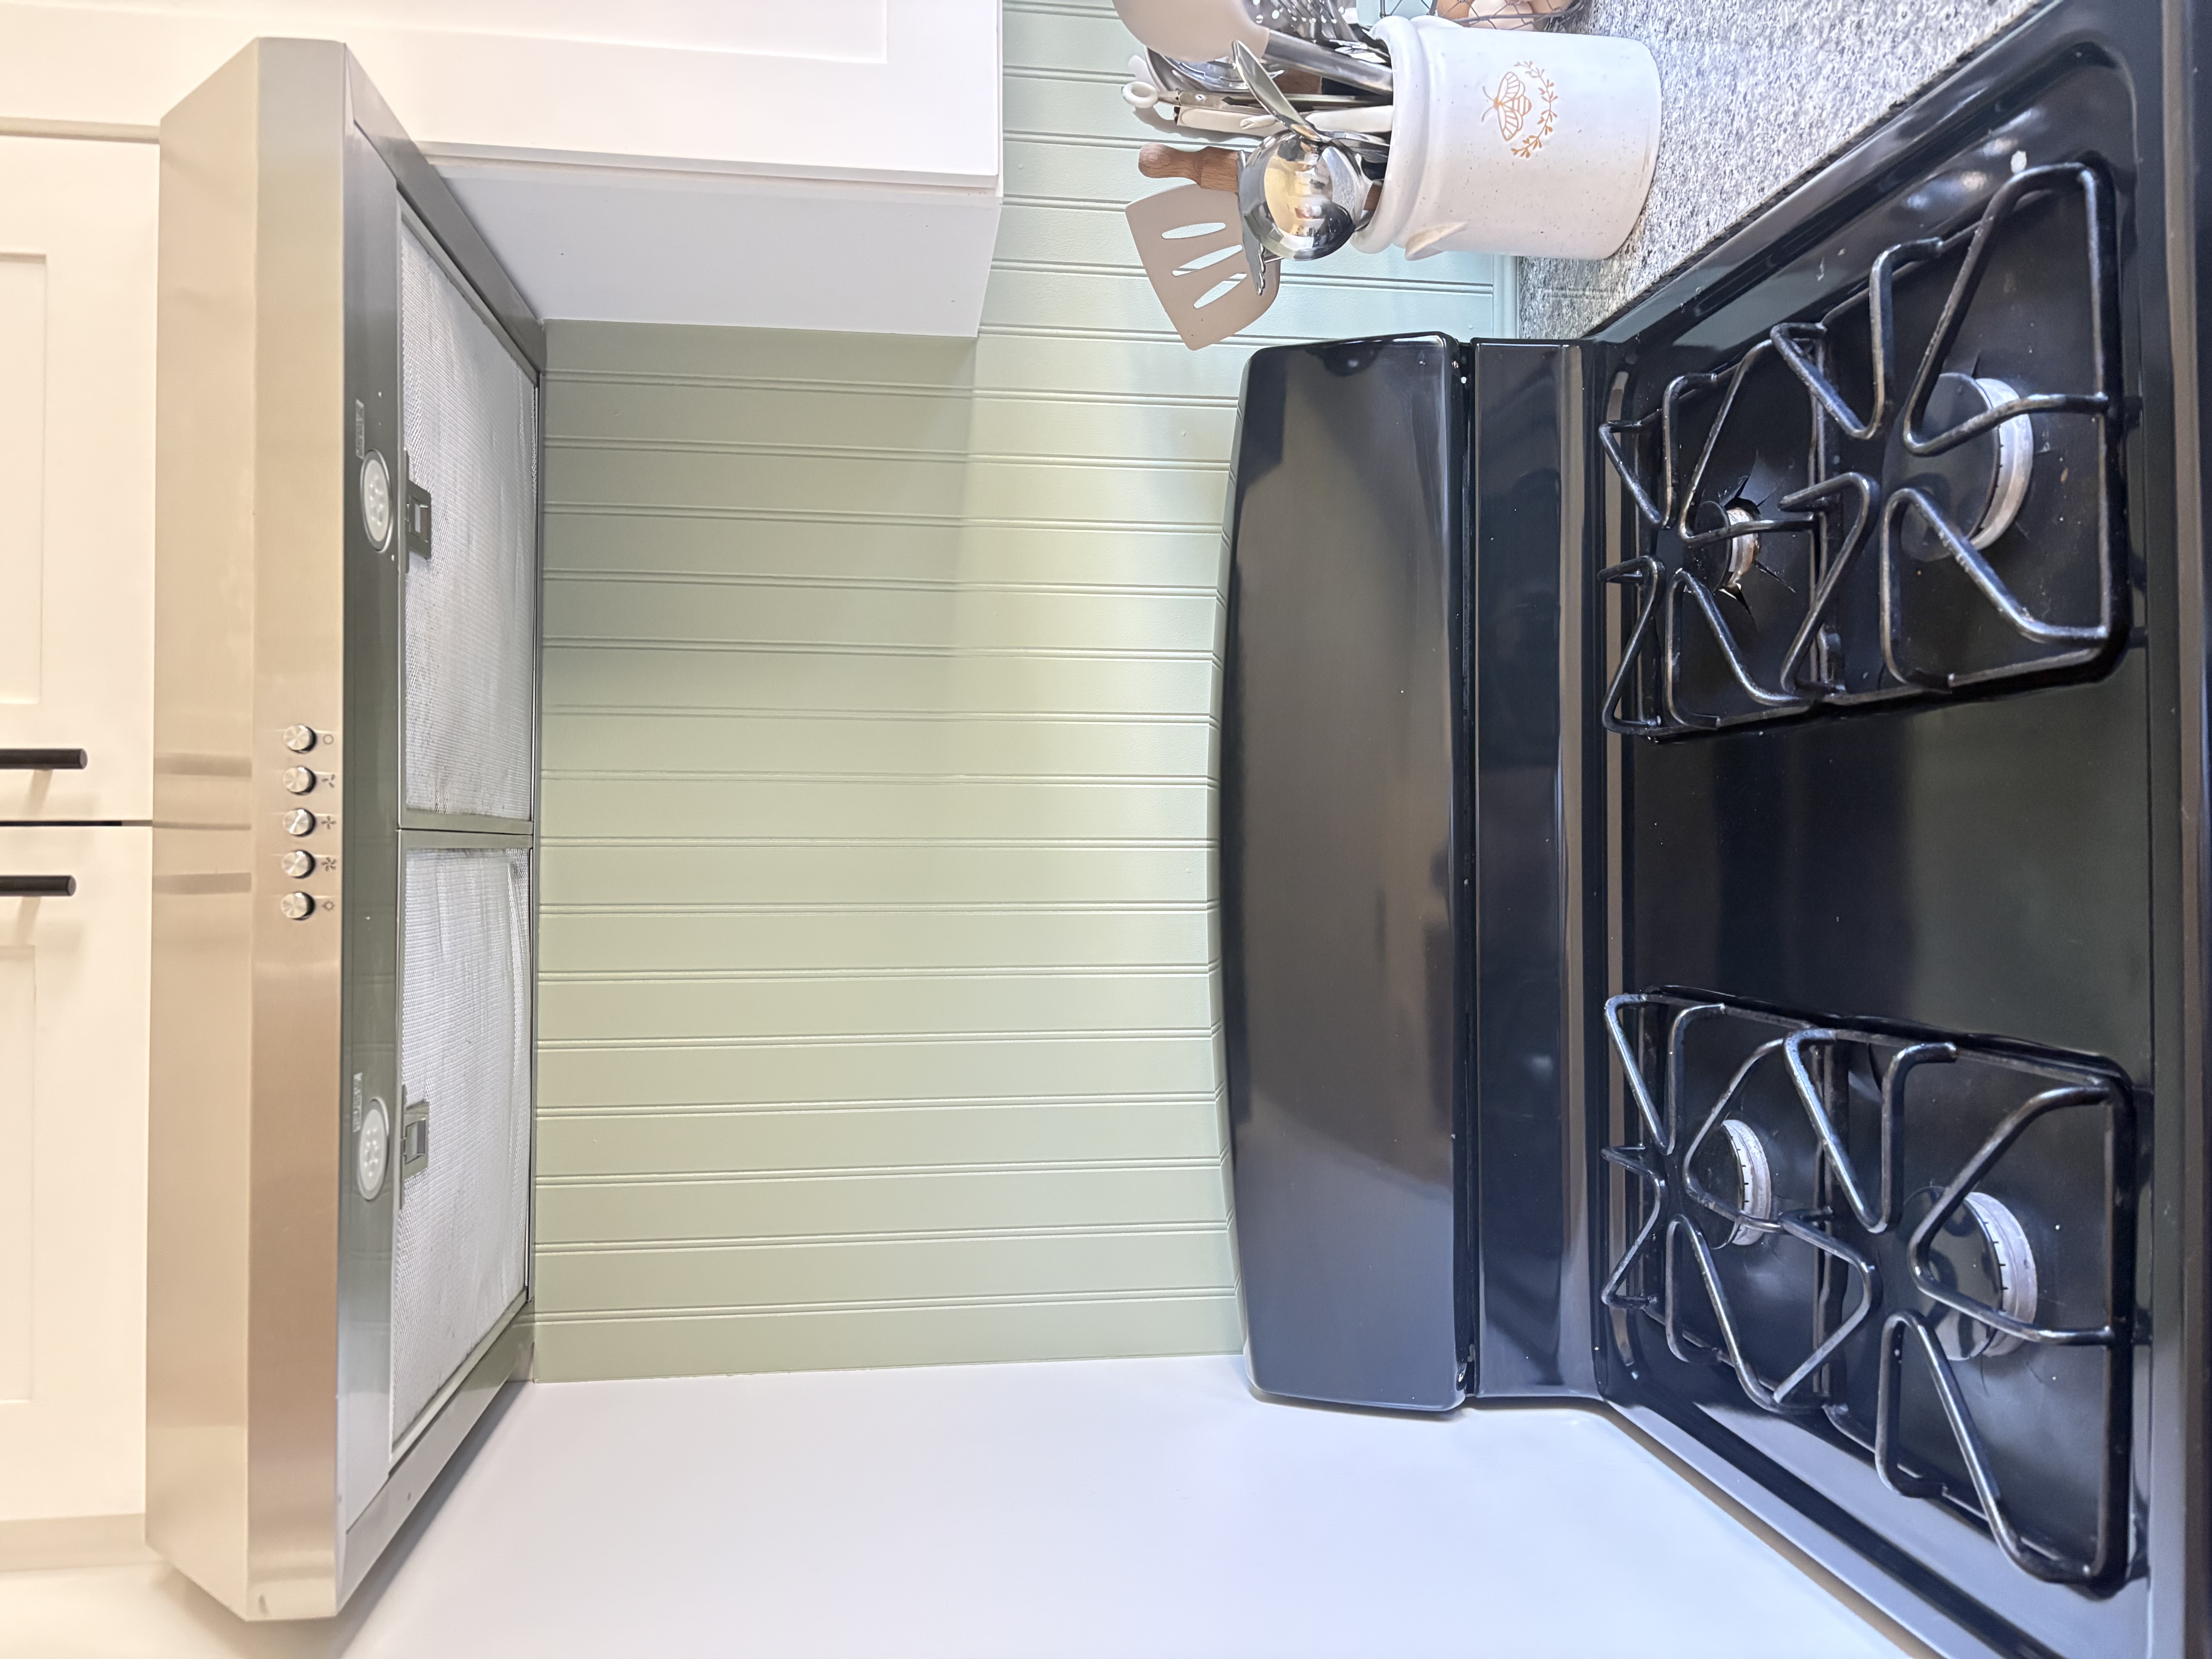
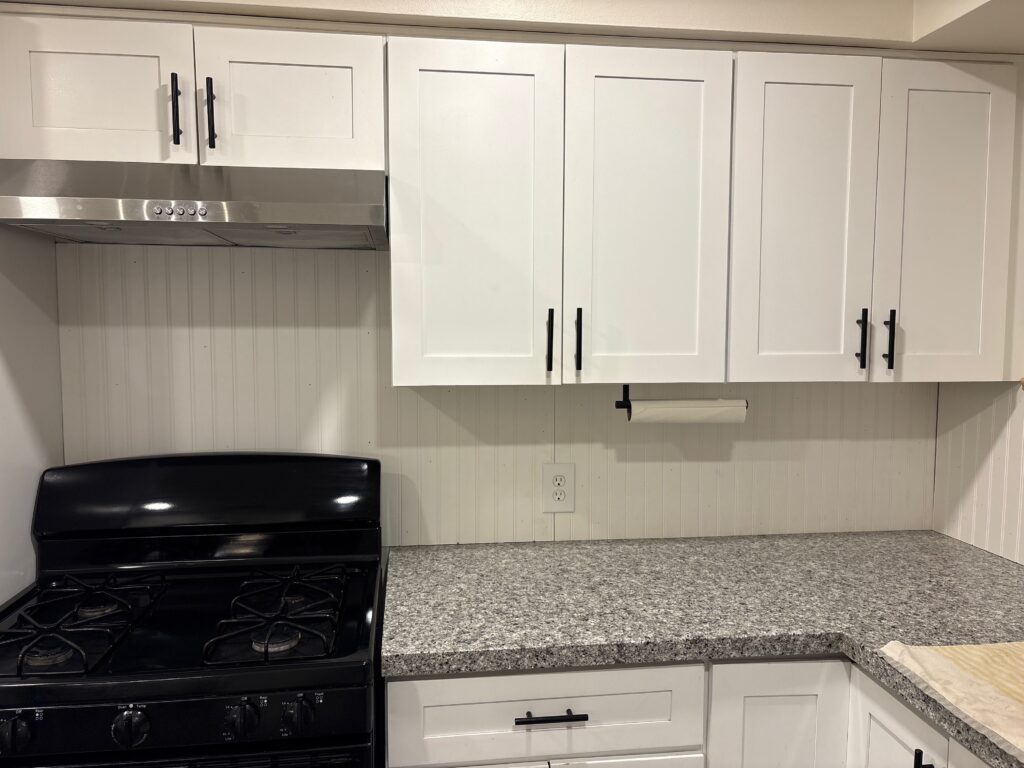
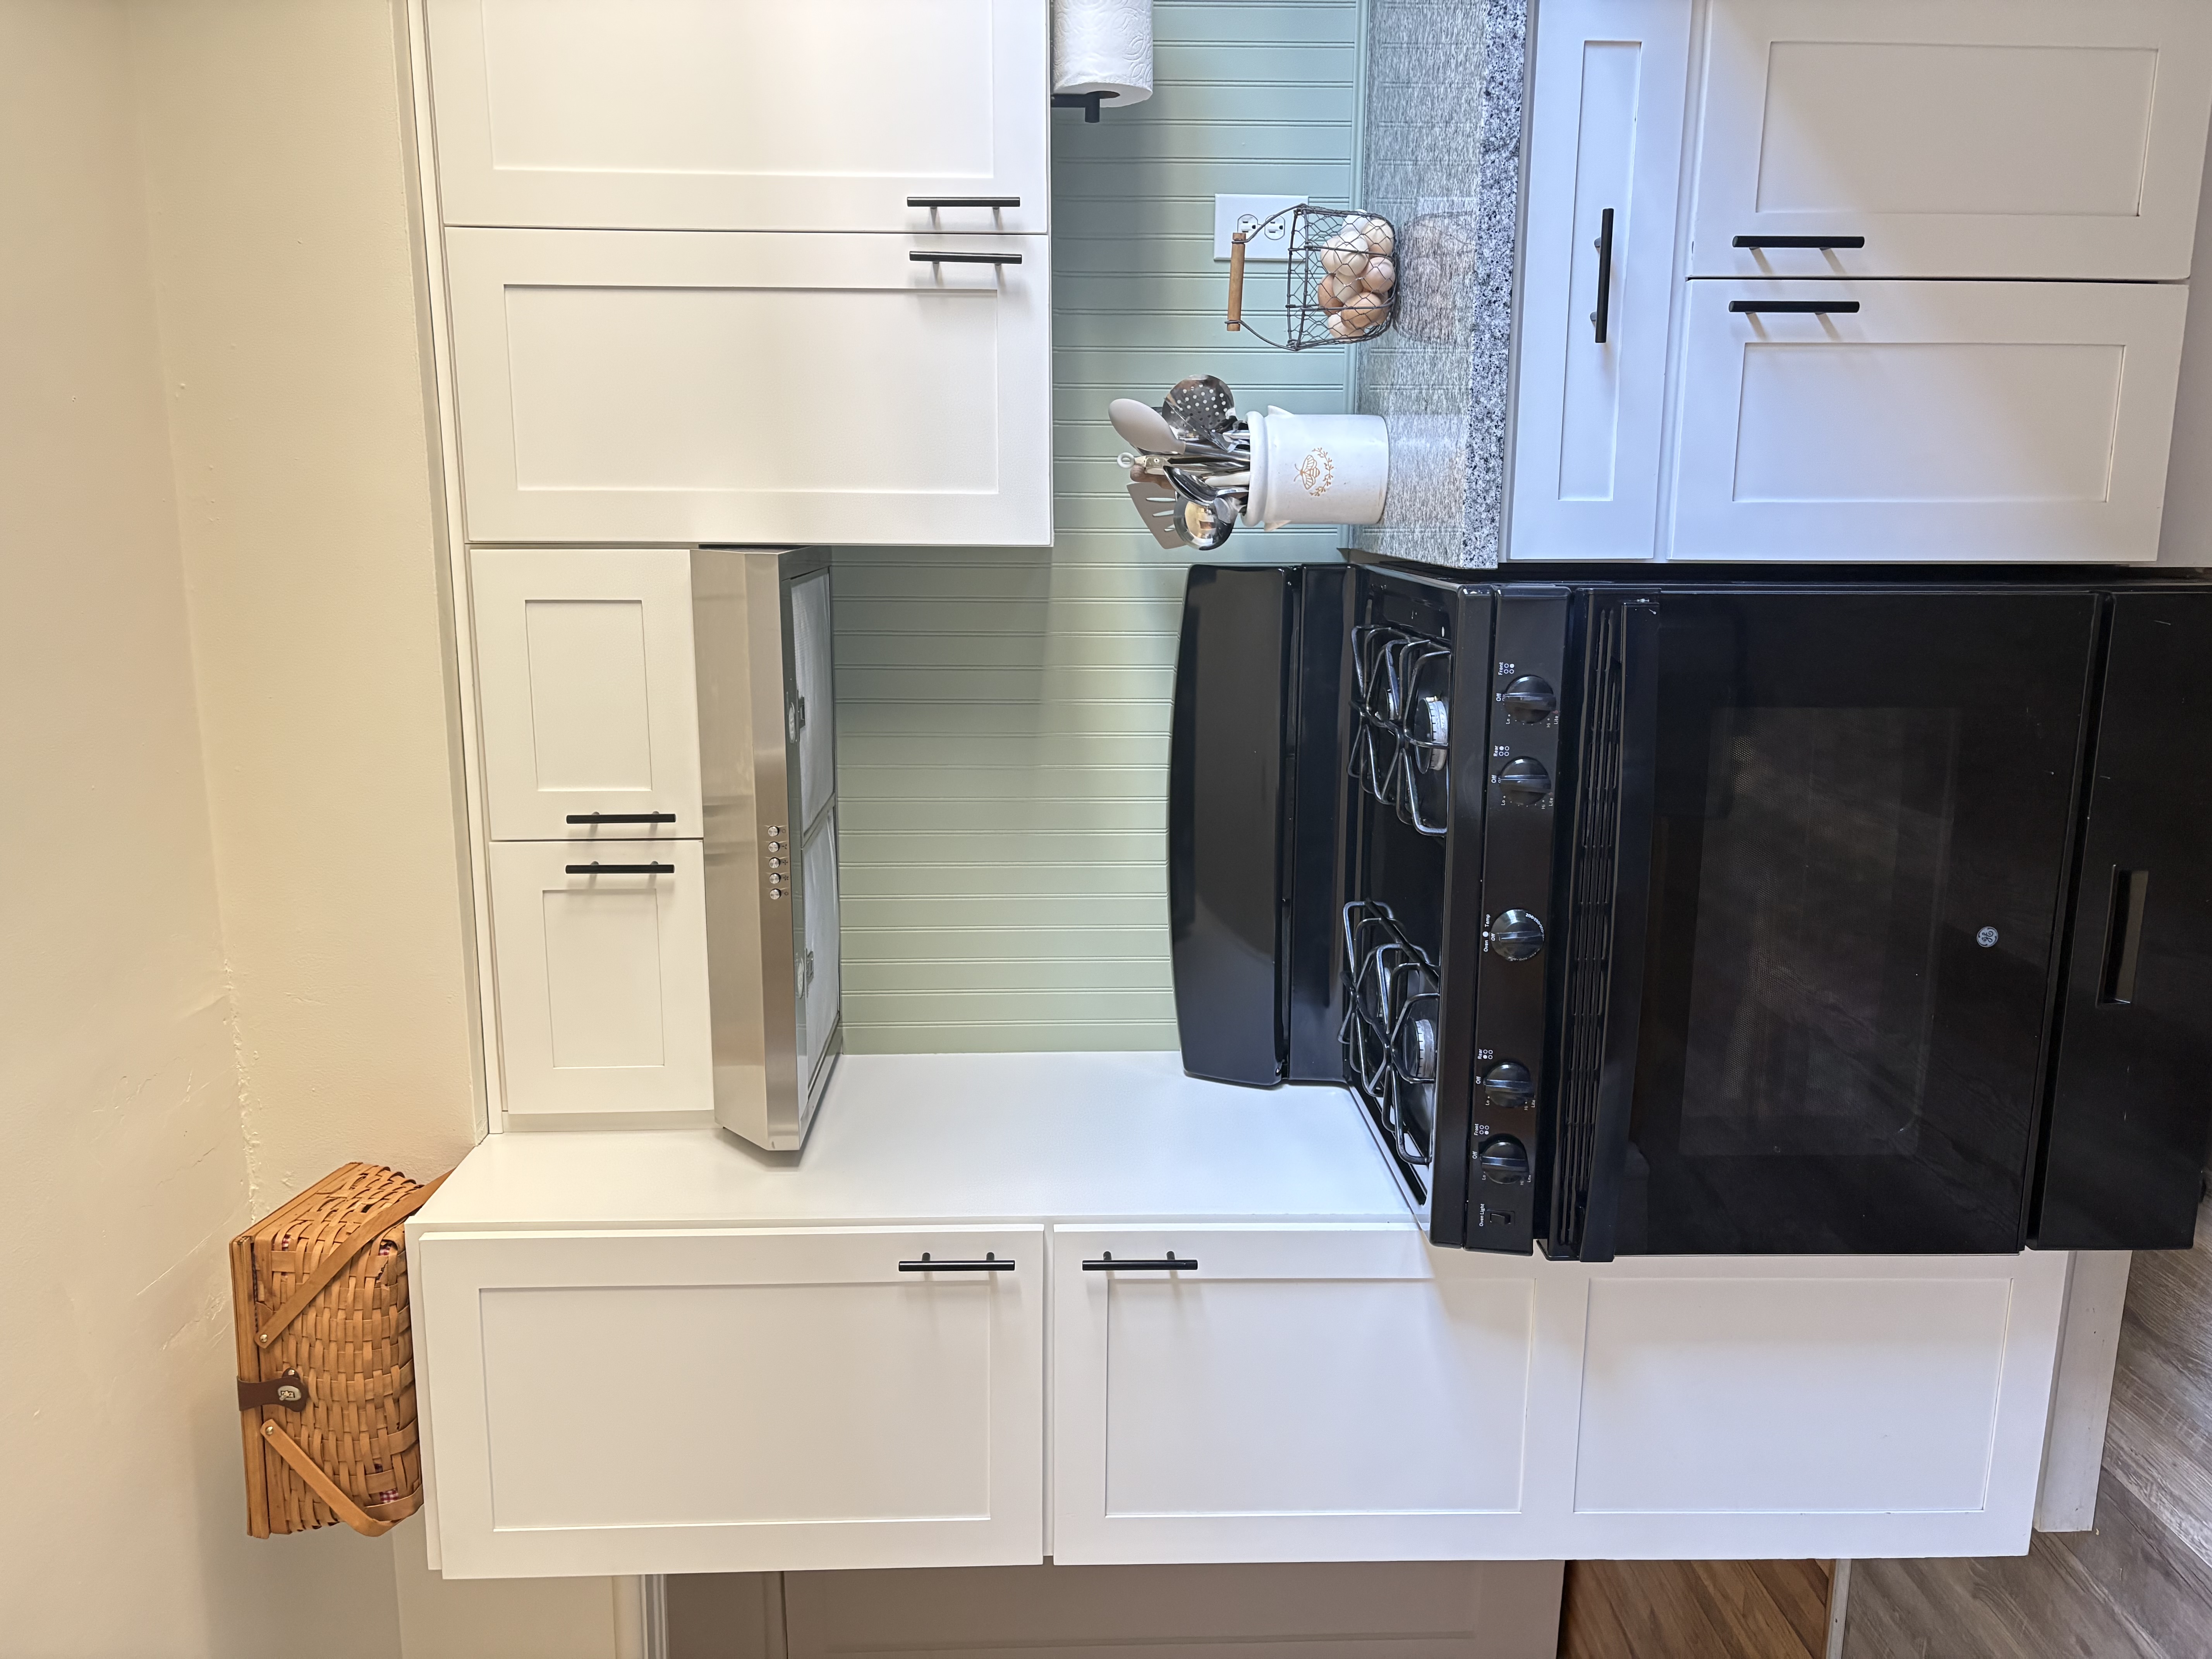
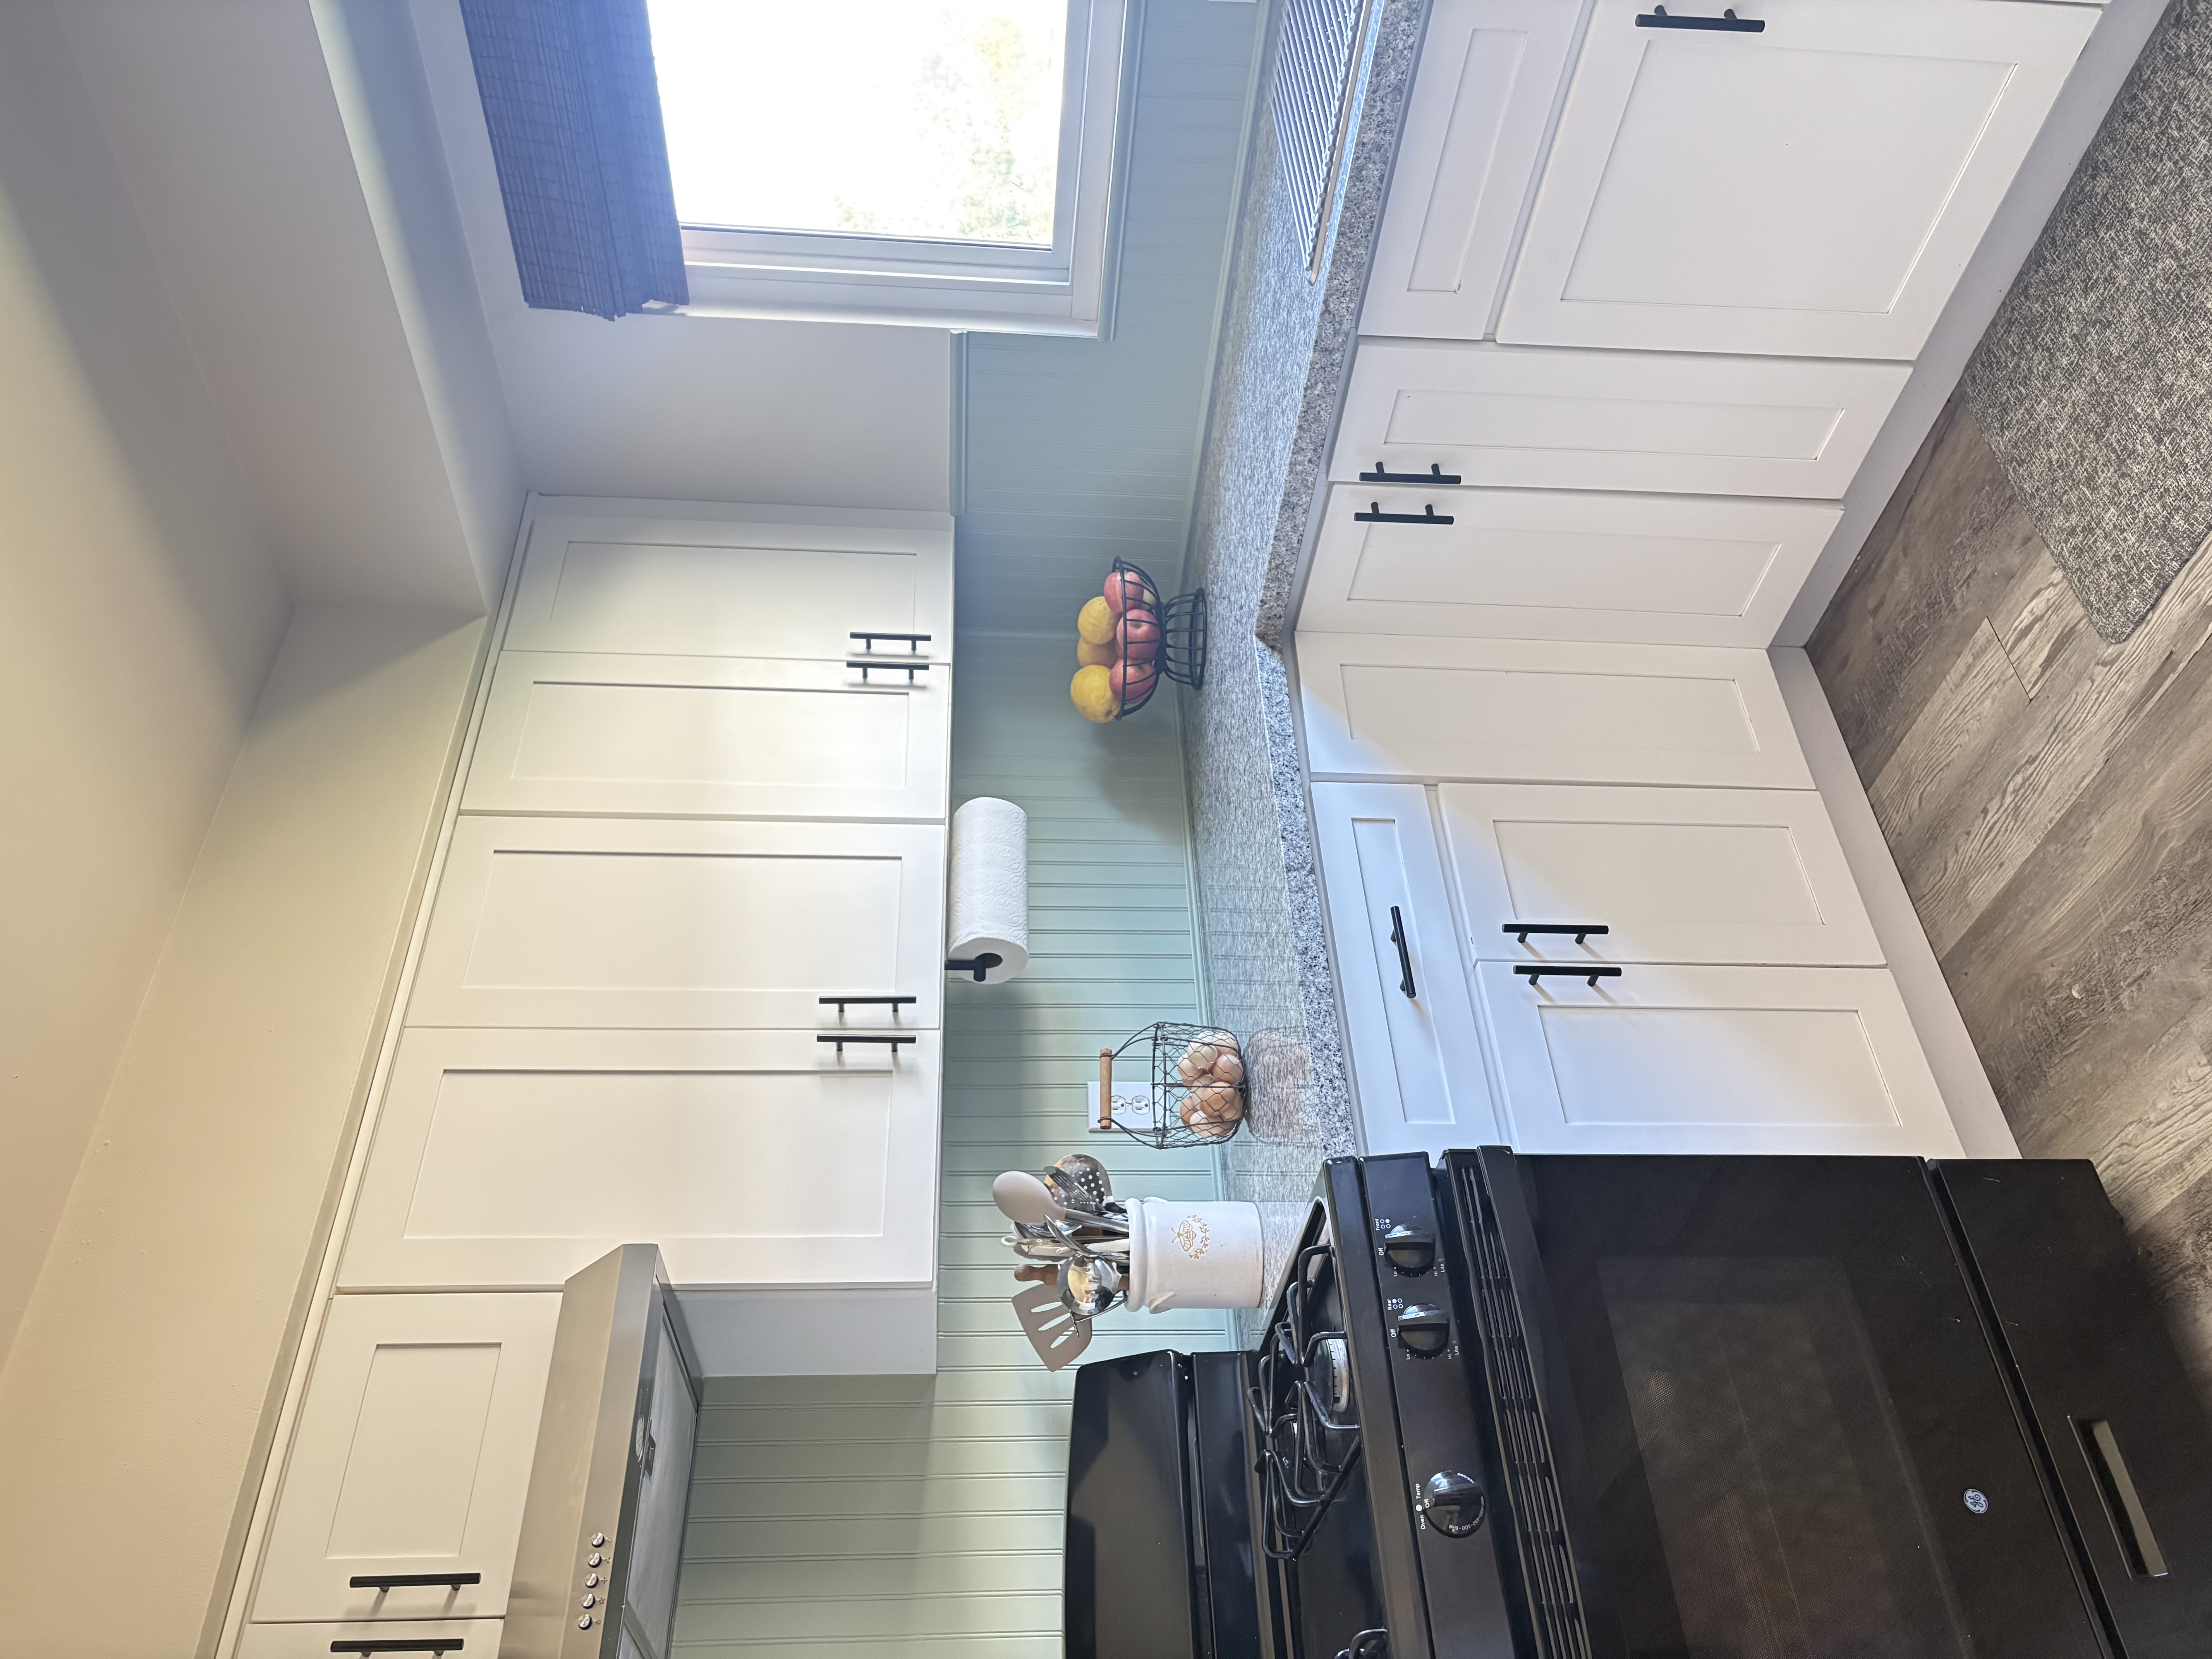
If you want to make your kitchen look cottage-inspired, warm, and cozy, install some bead board in the kitchen. Not only is it much cheaper than tile, it looks more cozy in my opinion! Ever since we bought the house, we knew we needed something as a backsplash in the kitchen, but we continued to push the project aside. Tile is just quite expensive and, quite frankly, we don’t know how to install tile. I know my husband could have figured it out and learned from Youtube, but I got inspired to opt for bead board from some homesteaders on Instagram.

Just to clear the air, my husband did pretty much all of the work that went into this project, but I did a great job at cheerleading and watching if I do say so myself. My husband explained all the steps to me that way you can help your husband install bead board too. 🙂
How to Install Bead Board
- Measure out the area where you want to place bead board.
- Cut out the bead board to fit the space, including outlet holes.
- Staple the bead board into your walls using a nail gun.
- Optional- measure out and cut the trims and nail them in on top of the bead board and on the bottom.
- Patch up all the holes with wood filler.
- Paint the bead board.

What Paint Should I Use for the Kitchen?
It is important to purchase the correct type of paint for the bead board in the kitchen. It needs to be water resistant and oil based. This type of paint helps the bead board last and not warp from all of the water and splashes.
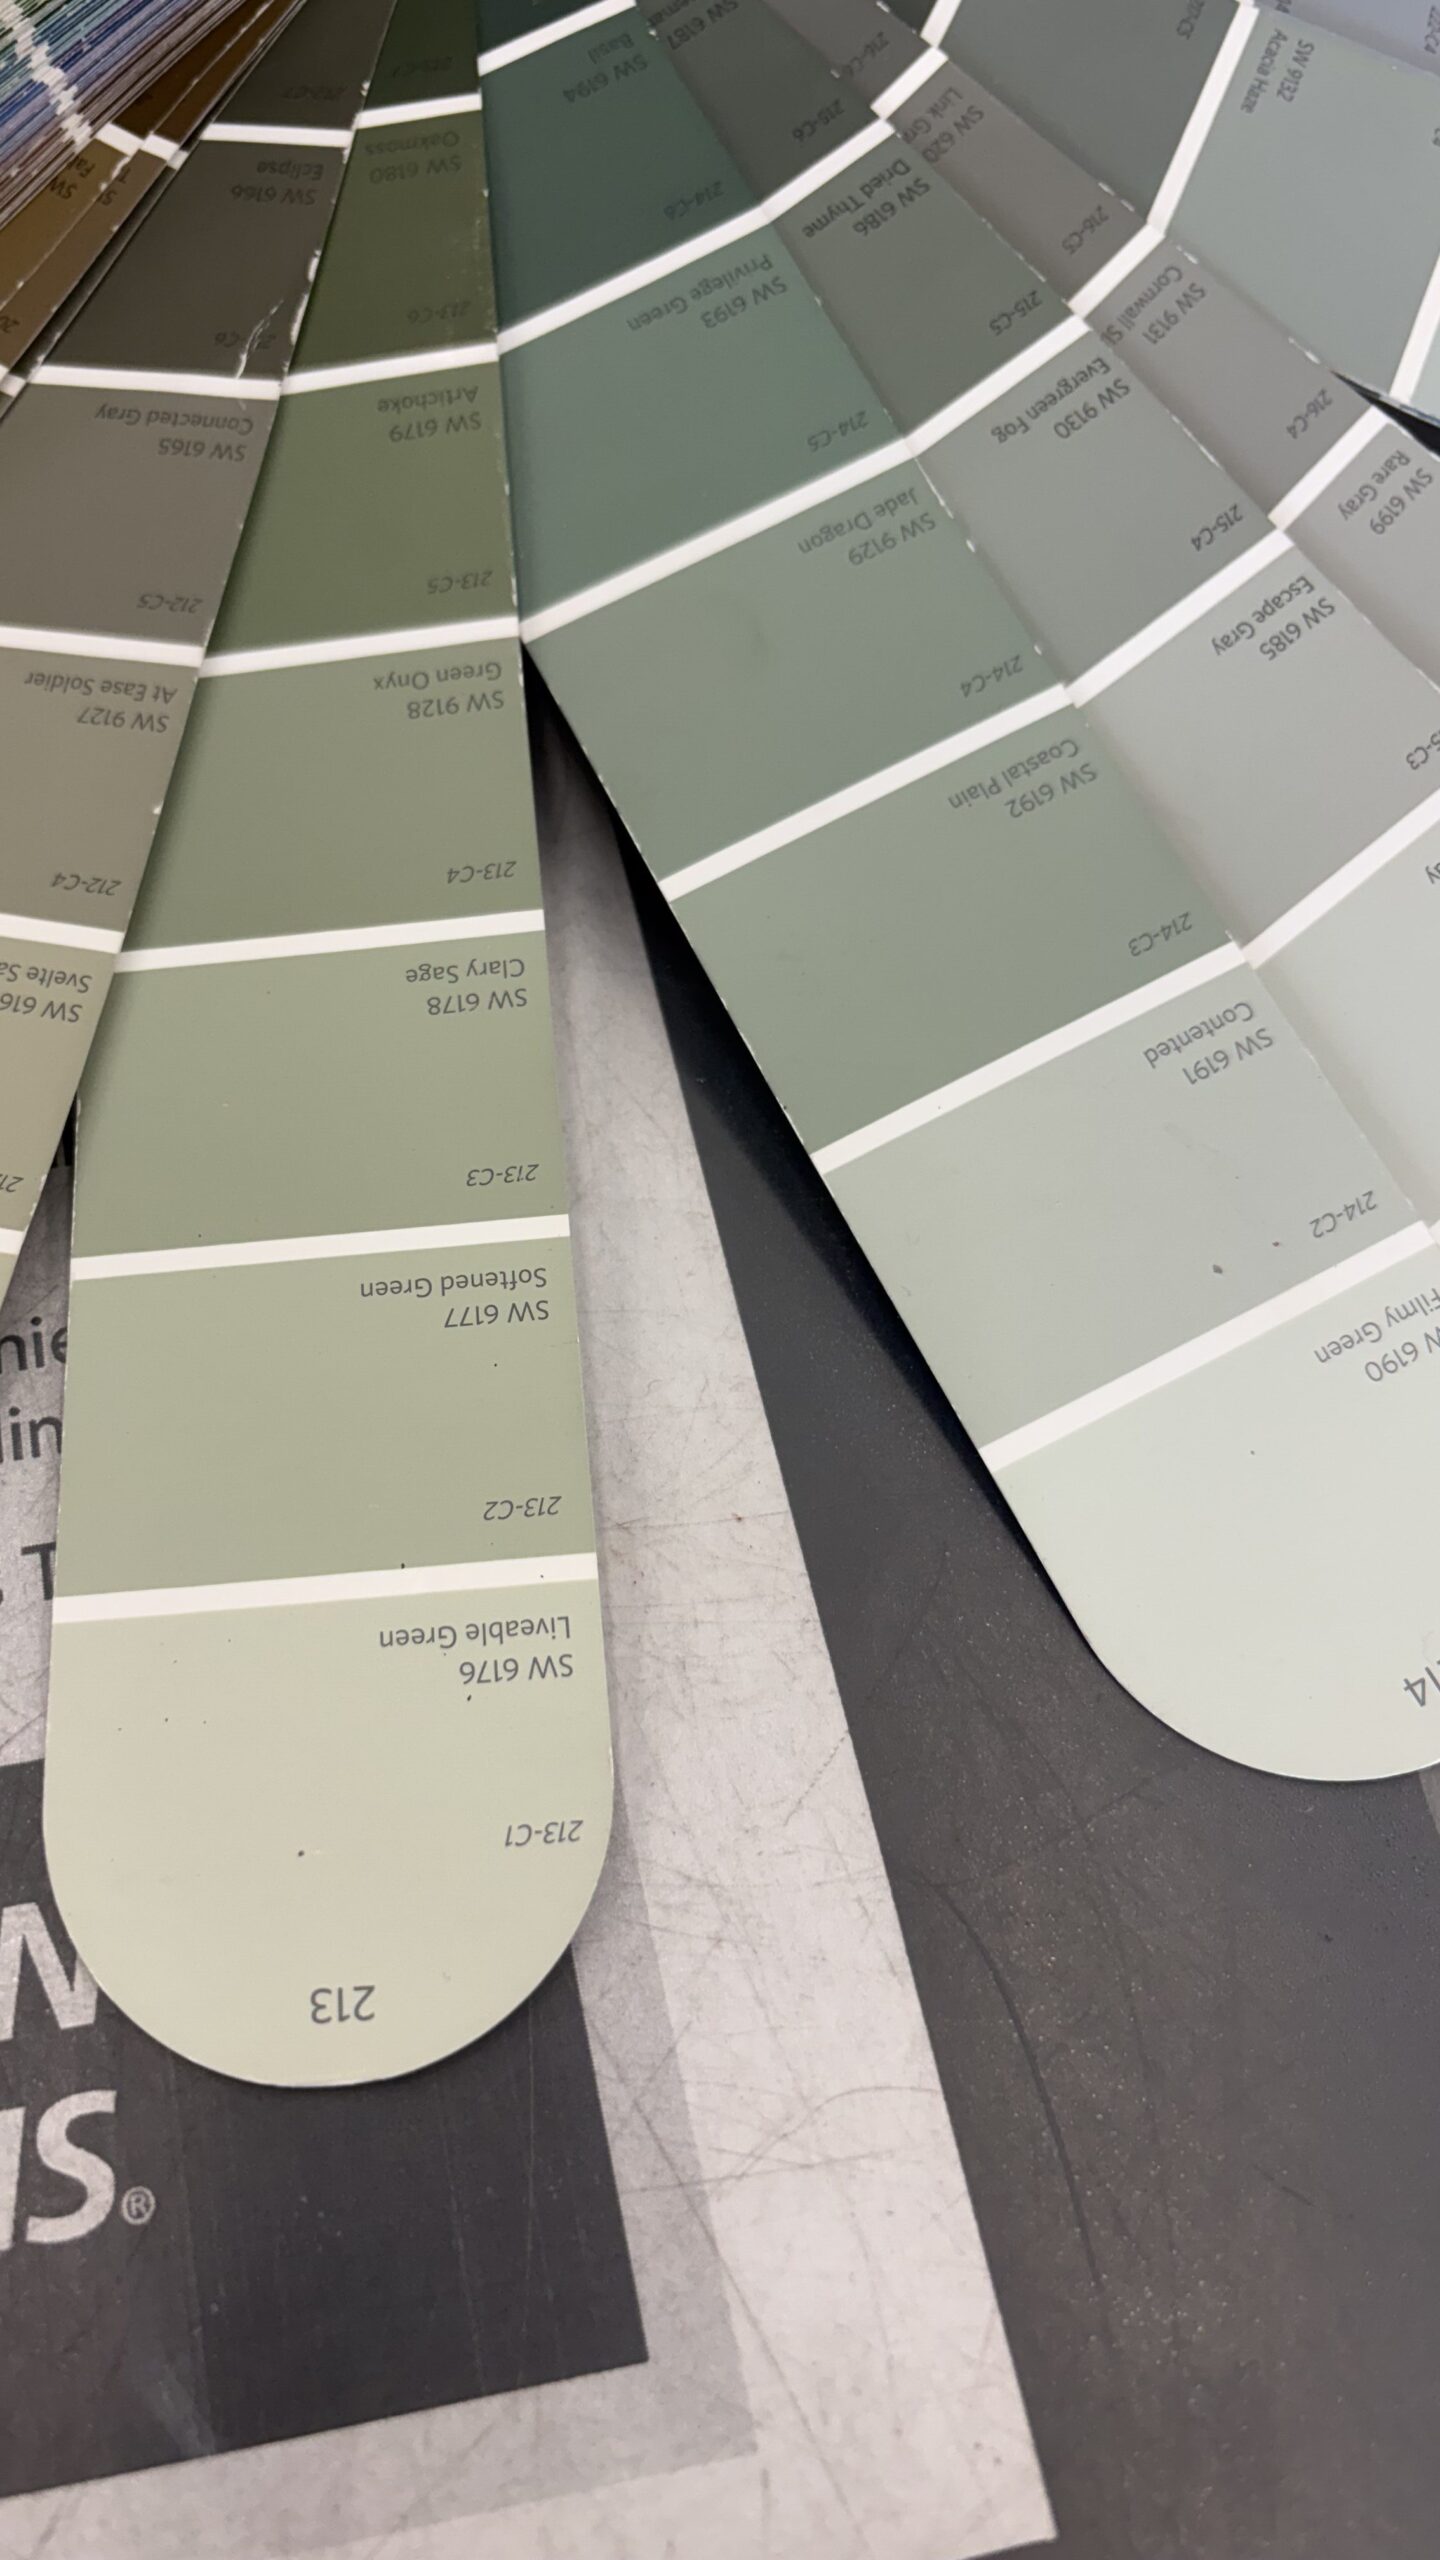
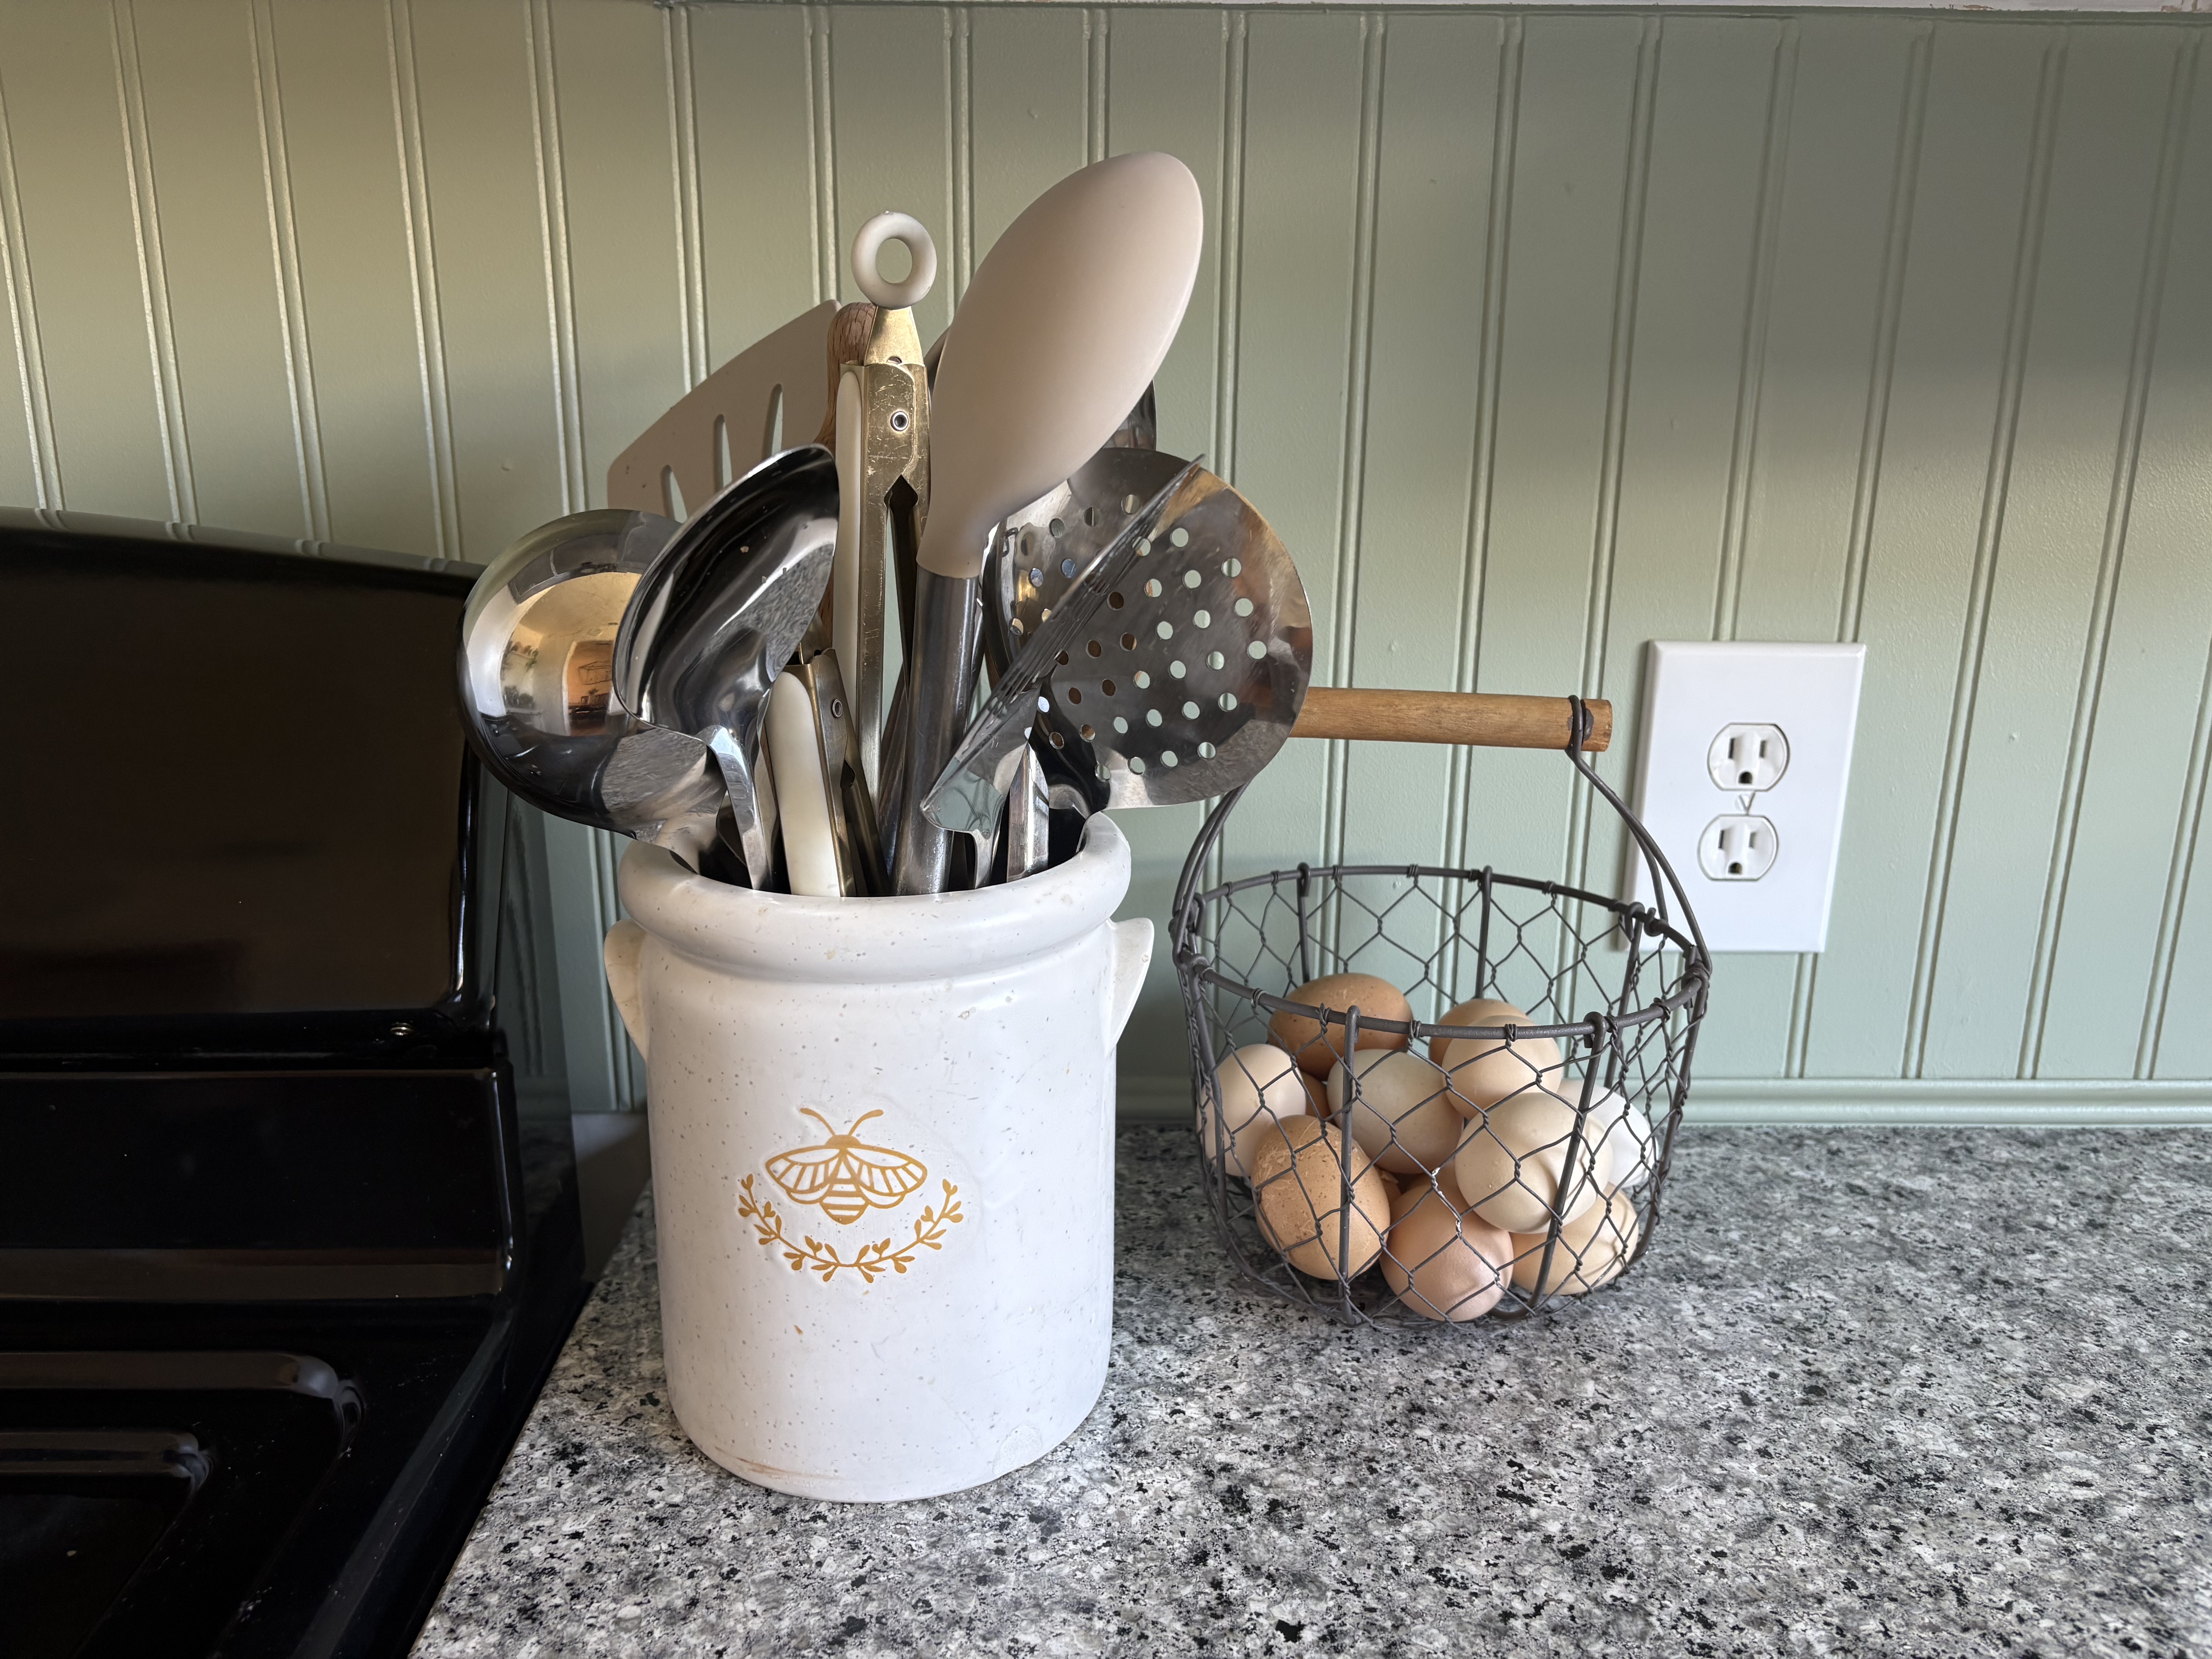
As for the color, you can obviously choose whatever your heart desires. In case anyone wants to know, we chose the color Clary Sage from Sherwin Williams. Green is a very calming color and we are particularly pleased with how the color suits our granite and cabinets.
It’s also nice to get samples from the paint store to see how it looks in your space and which hue you prefer. This can be a tricky step because it’s hard to settle on an exact color when the world is your oyster.
I am so excited about finding art work for the kitchen now that we have bead board up. There are so many great options on Amazon, but I want to first check out FB marketplace and thrift shops for better deals. Creating a home doesn’t happen overnight, but every little house improvement project makes a big difference in how the home feels.
If you do not put up trims all around the bead board, my husband says that applying water-proof silicone would be a good idea. We actually did that, but the silicone would ride up into the cracks of the bead board. It didn’t look very neat, so we just covered it up with the trim on the bottom too.
Thank you for following along on our home improvement projects! If you would like to check out more posts all about cozy decorating, stay awhile!
Leave a Reply