
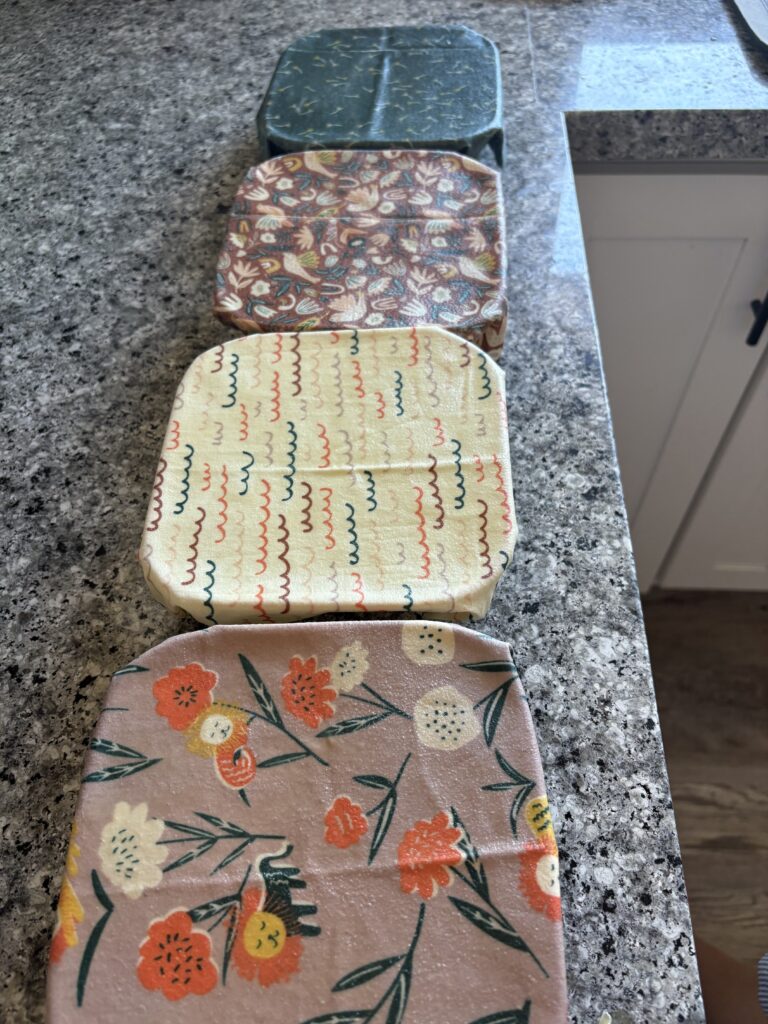
I have been busy trying out different ways of making beeswax wraps that are actually sticky enough to stay on bowls, but not too sticky that they leave a sticky residue. Though this process is fairly simple, it does take some time from start to finish.
Even though plastic wrap is so convenient to use, and we do have that in our kitchen, I am trying to slowly make more healthy swaps. Plastic wrap is harmful because heat, fat, and acidity can cause chemical additives to get into our food. How many of us apply plastic wrap on our food when it’s still warm? This is a surefire way to get bad stuff into our food and then later into our bodies. Also, our food often has fats in them or different acids, which all makes the phthalates get into the food we consume. There are lots of phthalates in most traditional saran wrap, which are known as endocrine disruptors. This can lead to hormonal imbalances, reproductive issues, and other health problems that we do not want!
*Disclaimer: As Amazon Associates, we earn a small commission from qualifying purchases at the same price for you! Thanks for your support!
What You’ll Need:
- 100% cotton fabric
- Beeswax(pellets are easier to work with)
- pine resin(optional but it helps the beeswax wraps stick on better)
- jojoba oil or castor oil
- parchment paper
- baking sheet
- designated paintbrush (you won’t be able to get the wax off after)
- kitchen scale
I found these cute organic cotton pieces from Azure Standard in their sale section a few years ago and they have been sitting for a while. SO happy I found a use for the fabric!
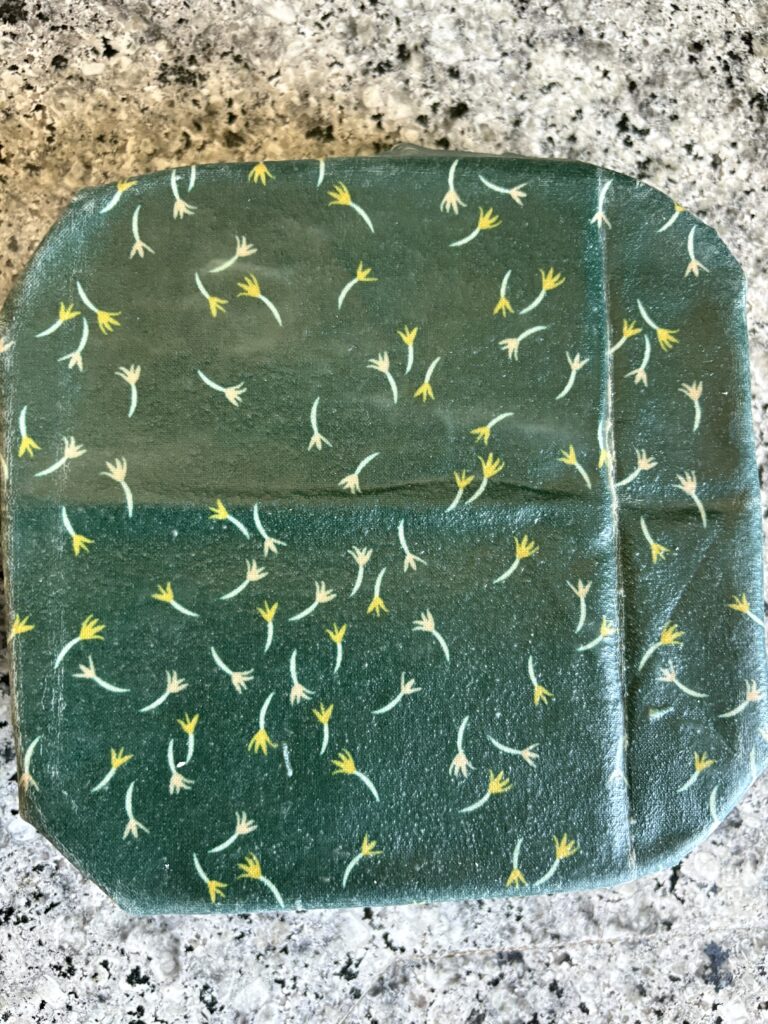
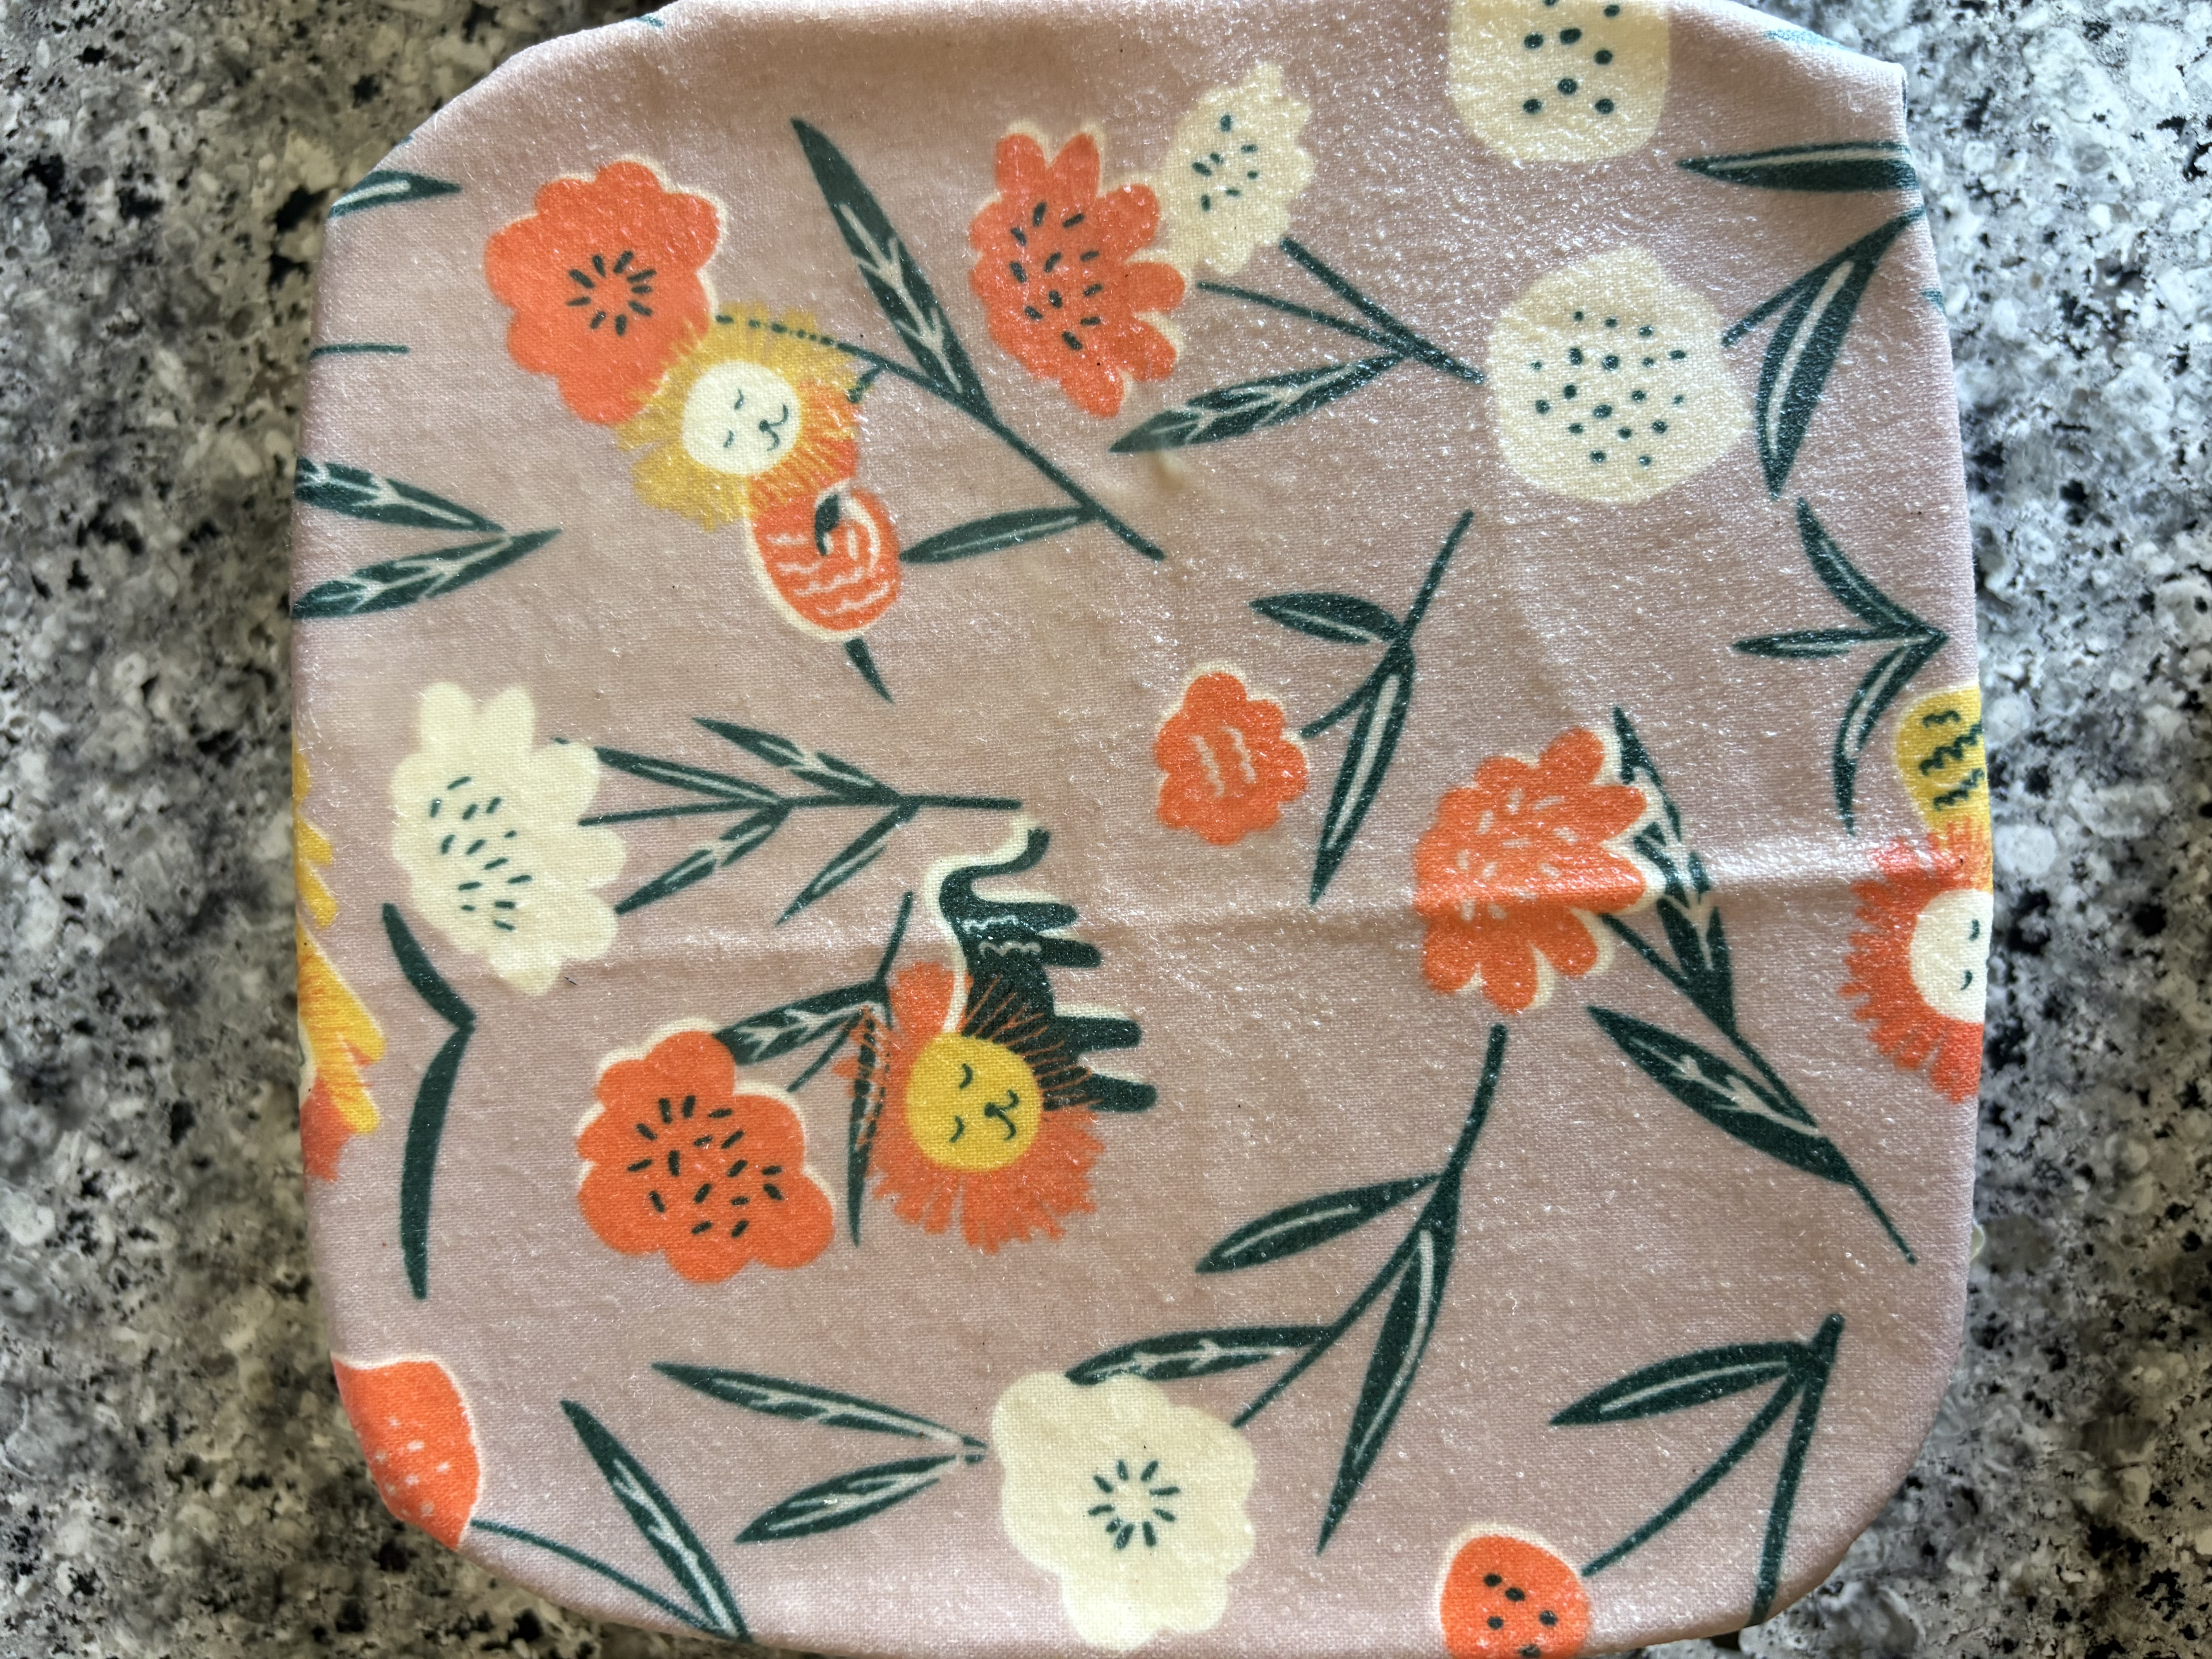
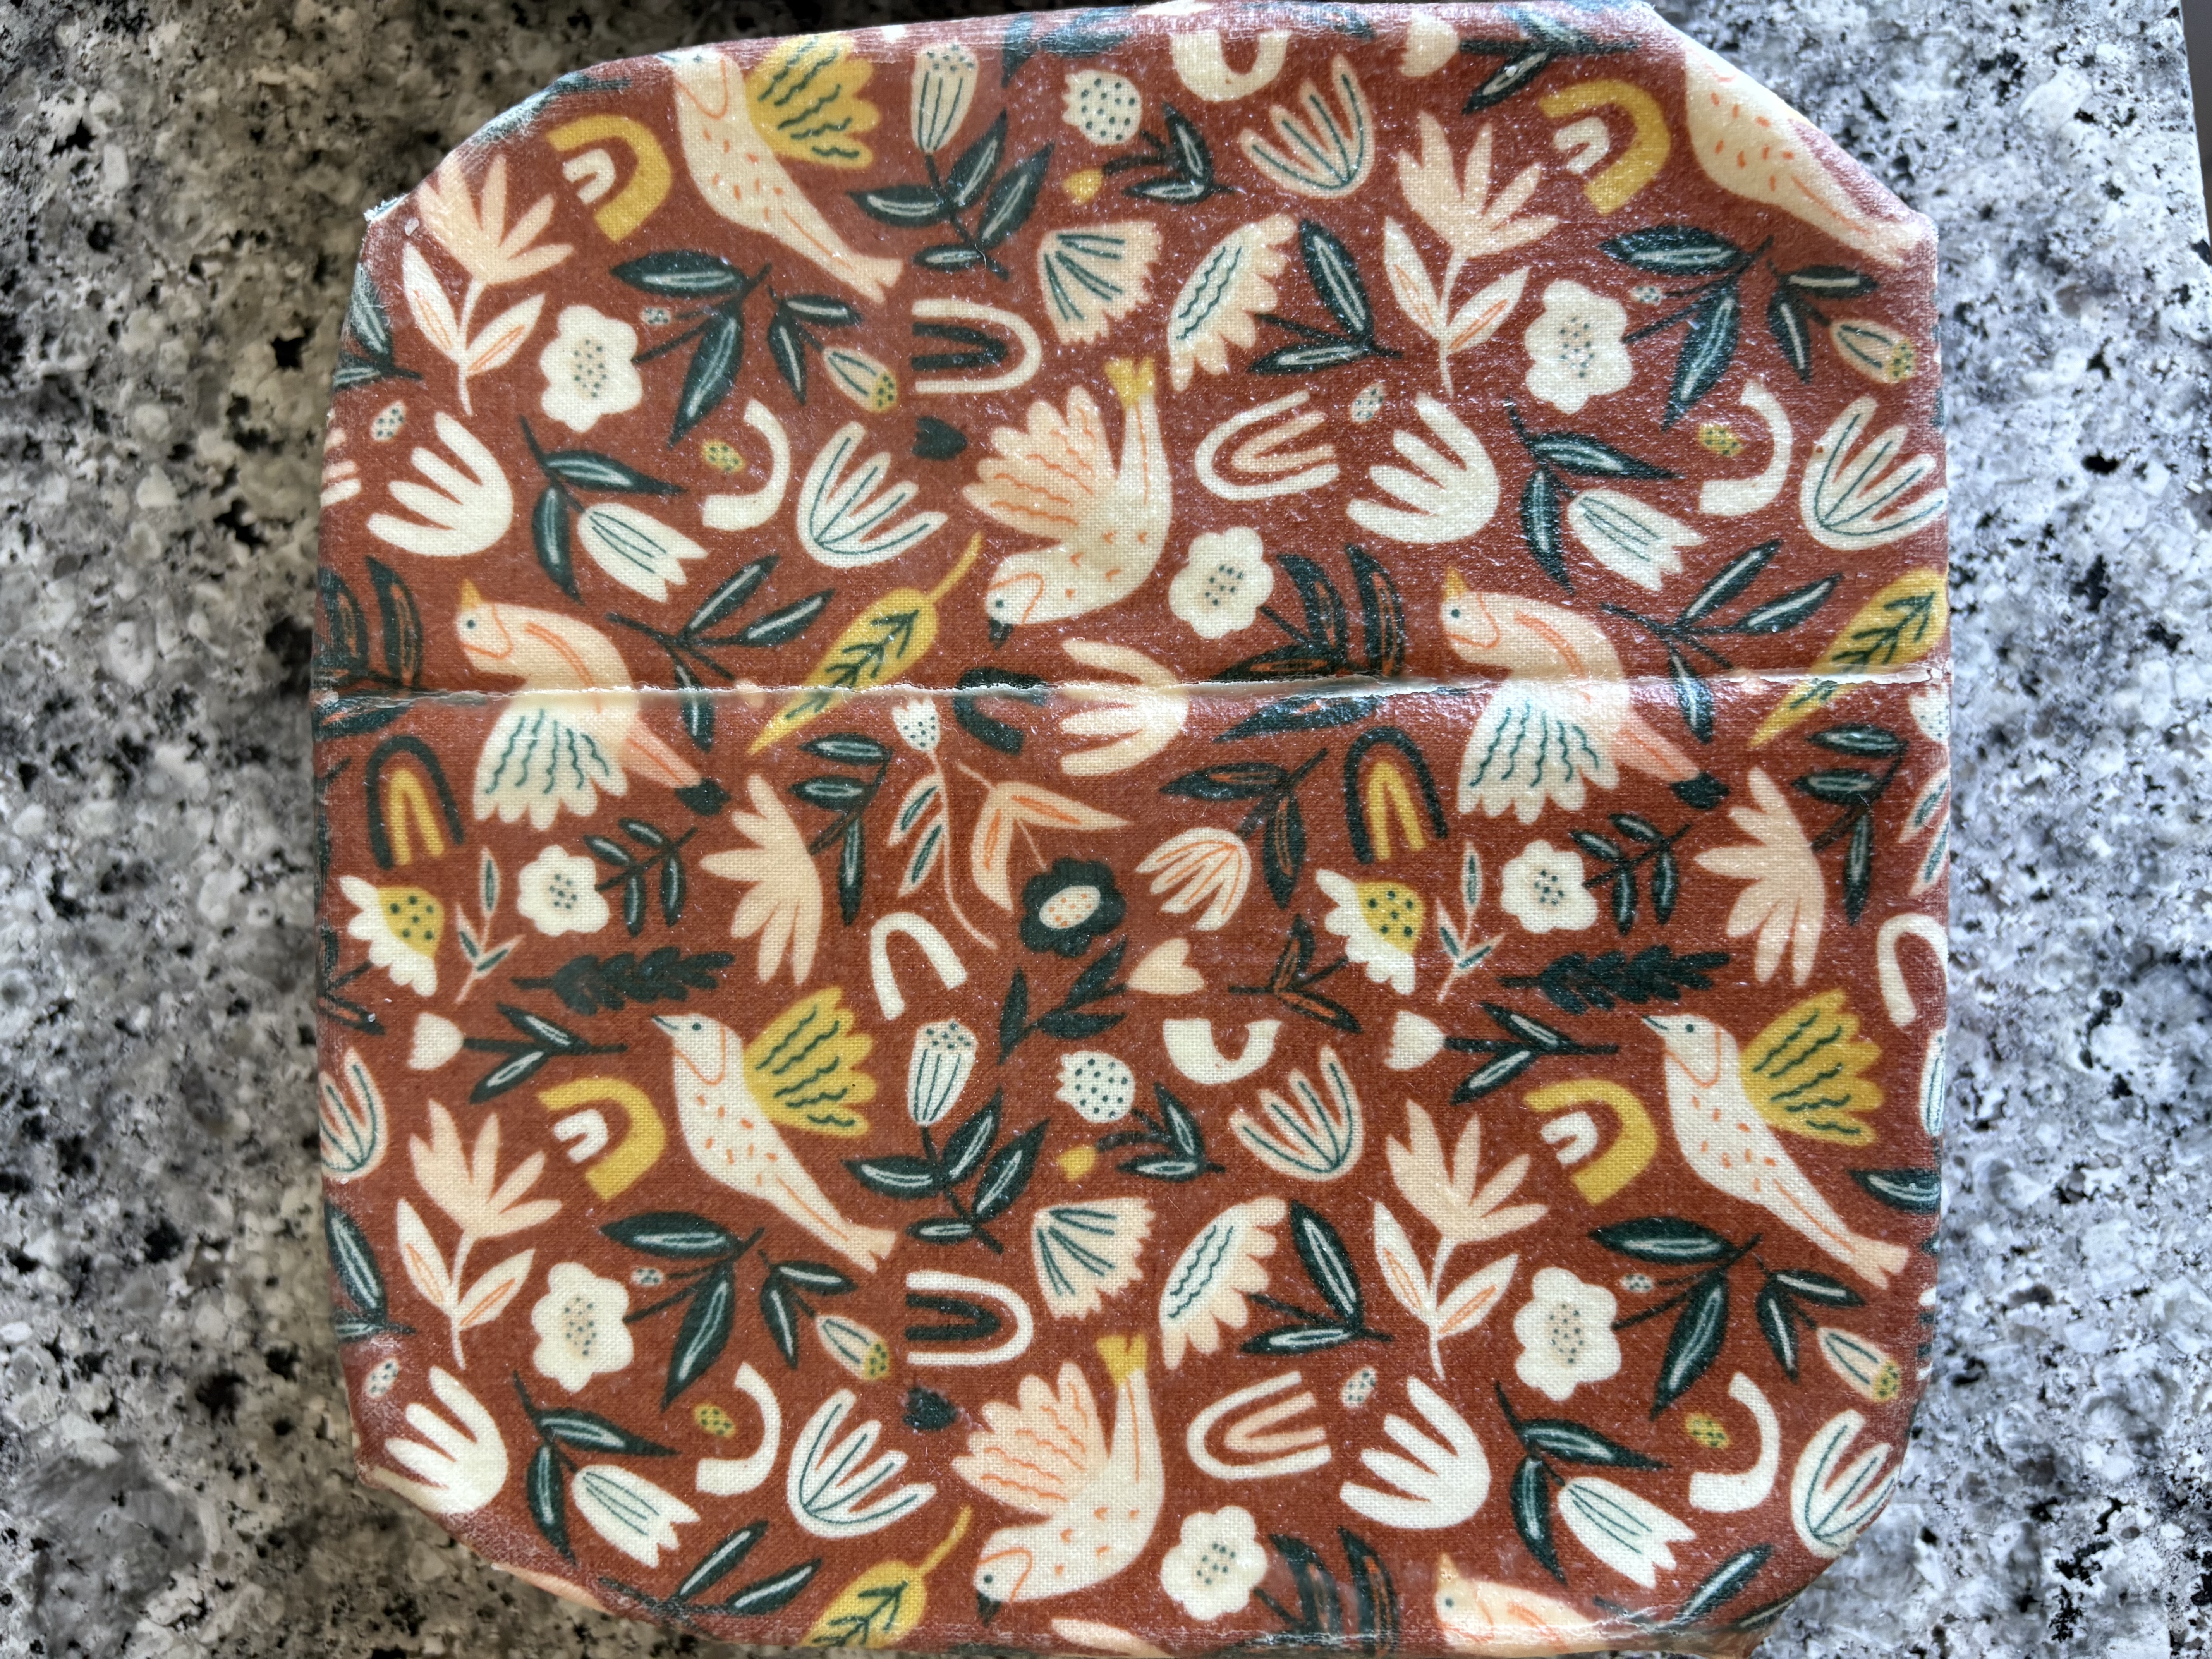
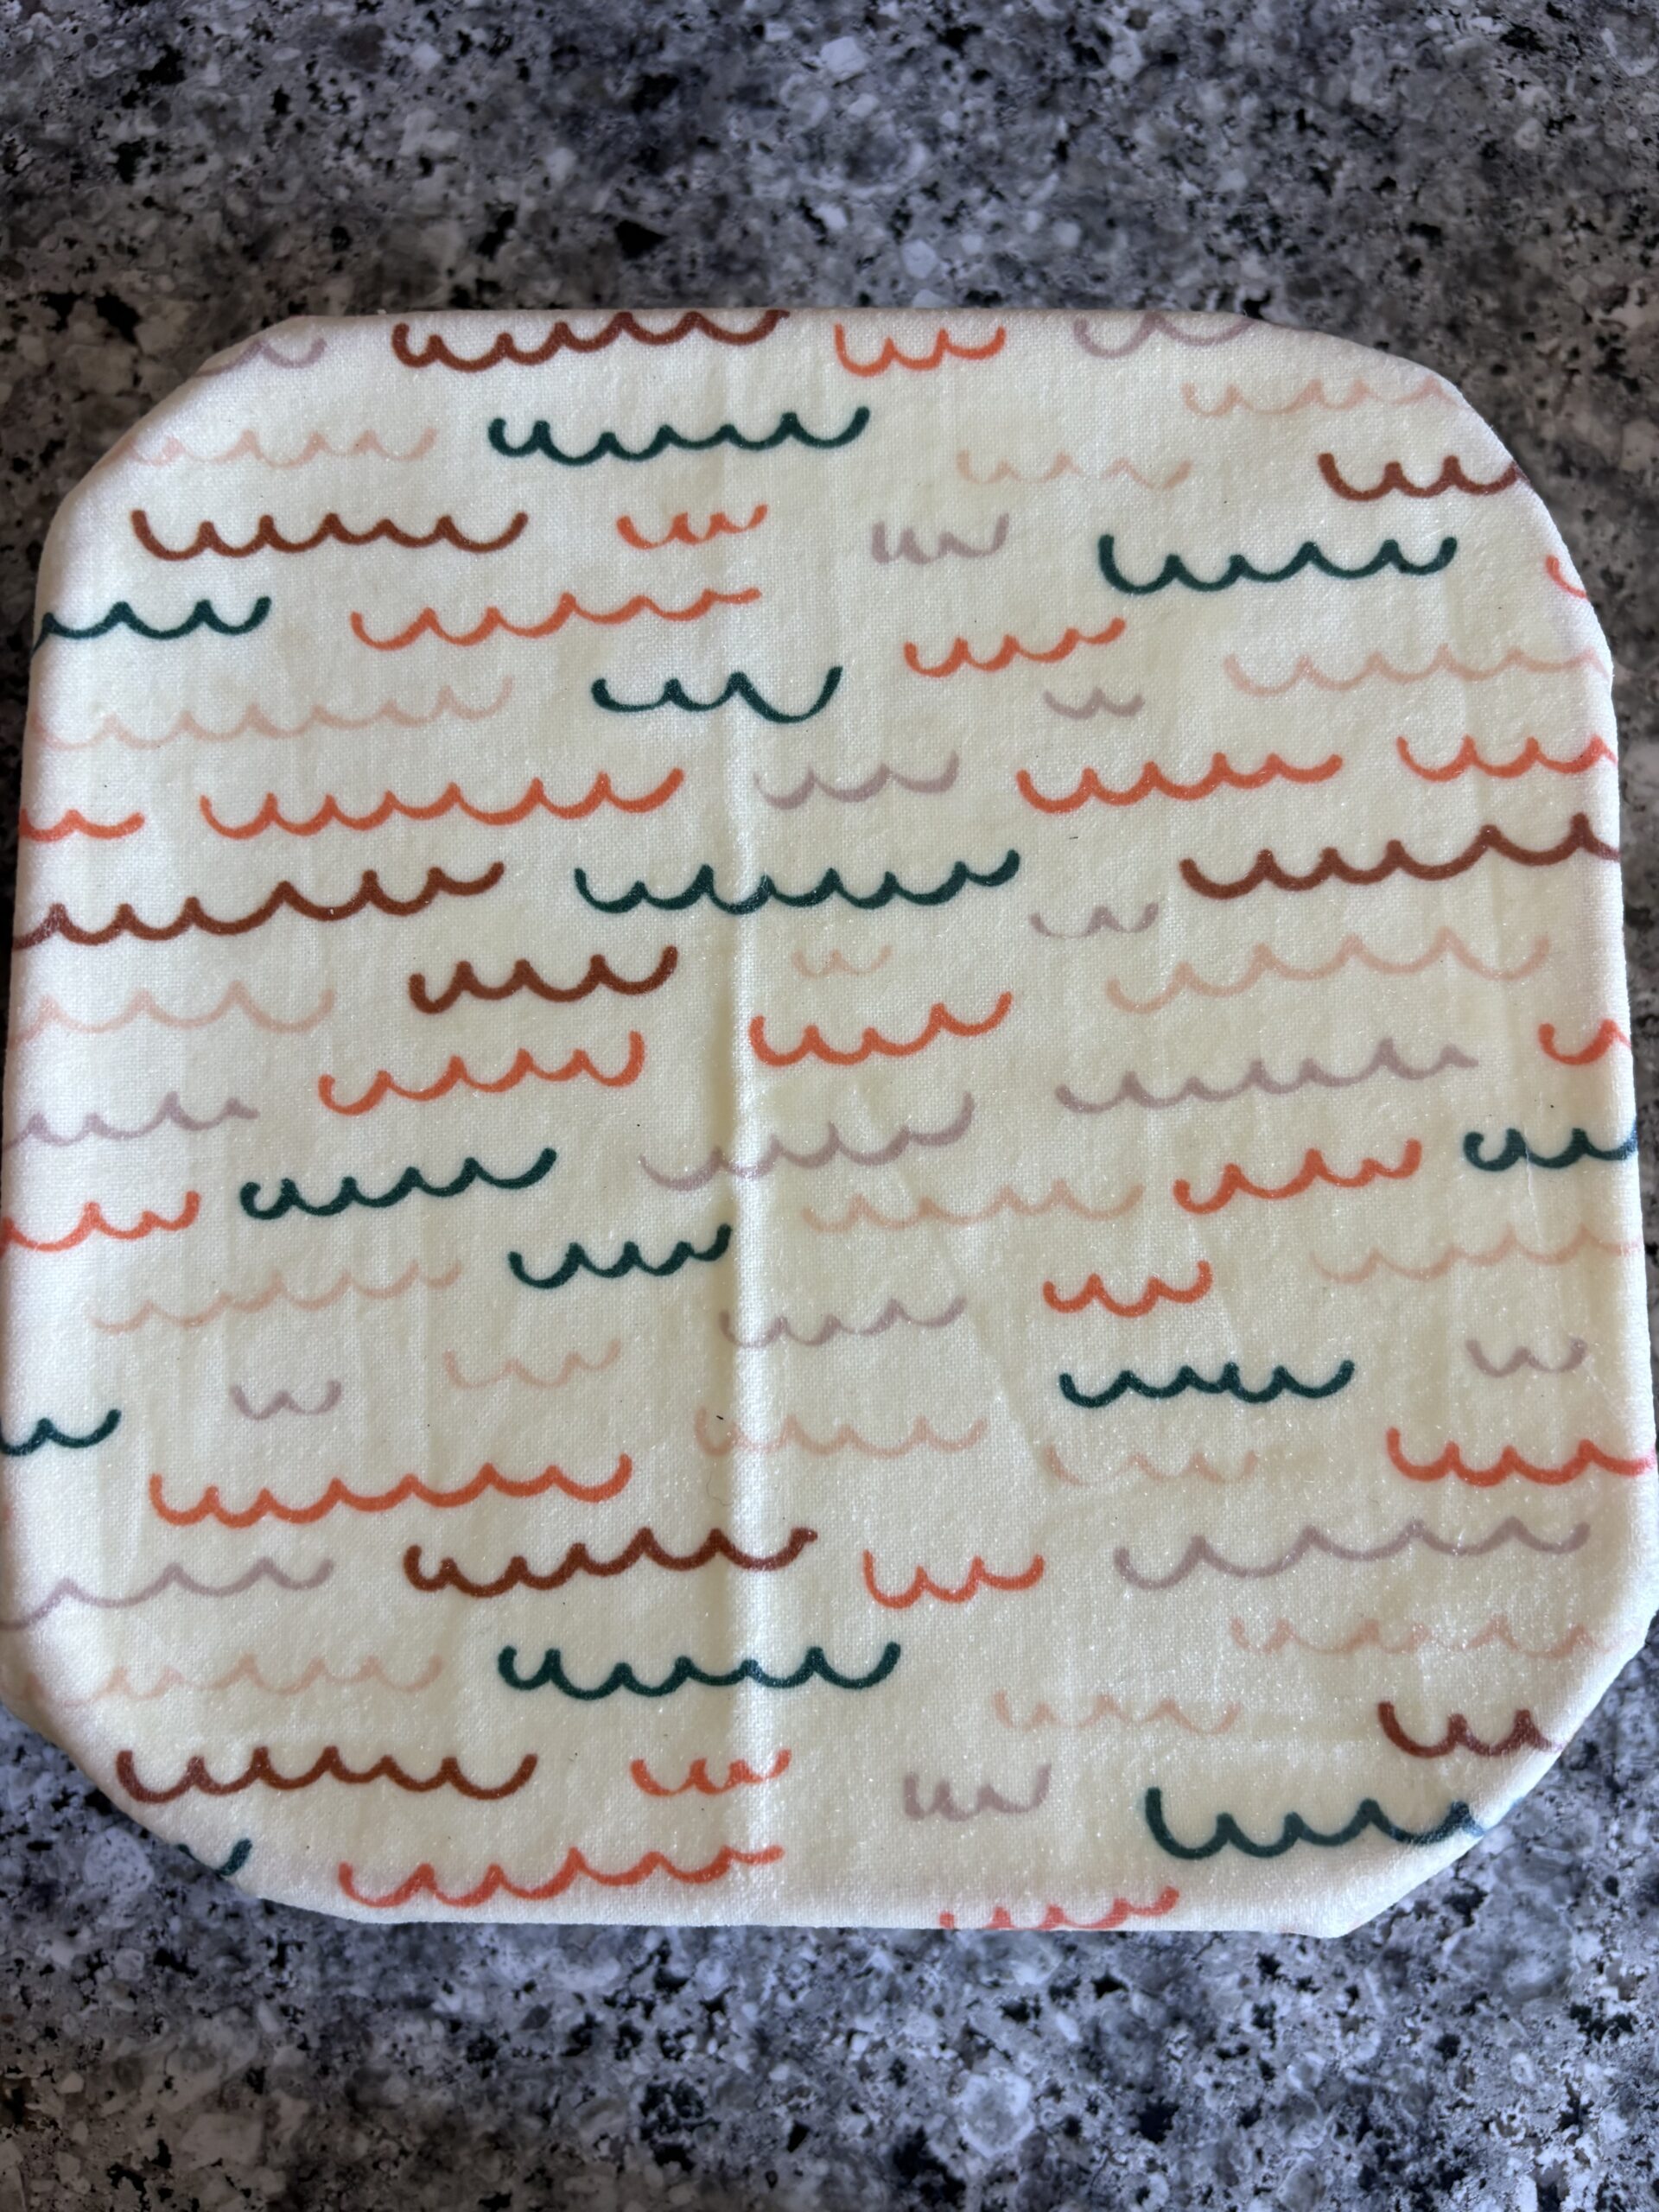
How to Make Beeswax Wraps
- Cut the fabric. You can make them as big or as small as you want. I chose to cut them in 9″x9″ squares, but a bigger size 12″x12″ would be great to cover larger bowls. Smaller cuts would be great for covering a half of avocado and such.
- Use the double boiler method to melt together beeswax, pine resin, and jojoba/castor oil. I used the castor oil, but jojoba oil might be even better. I just used what I had on hand:)
- Preheat the oven to the lowest setting(150° F to 200° F). My oven’s lowest temperature was 200° F.
- Place parchment paper onto a baking dish and then the cotton fabric on there.
- Use the paintbrush to apply the melted ingredients onto the cotton fabric.
- Place in the oven for 3-5 minutes until the wax spreads evenly onto the cotton fabric.
- Take off the cotton beeswax wrap off the parchment paper immediately and wave around until it dries(about 10 seconds).
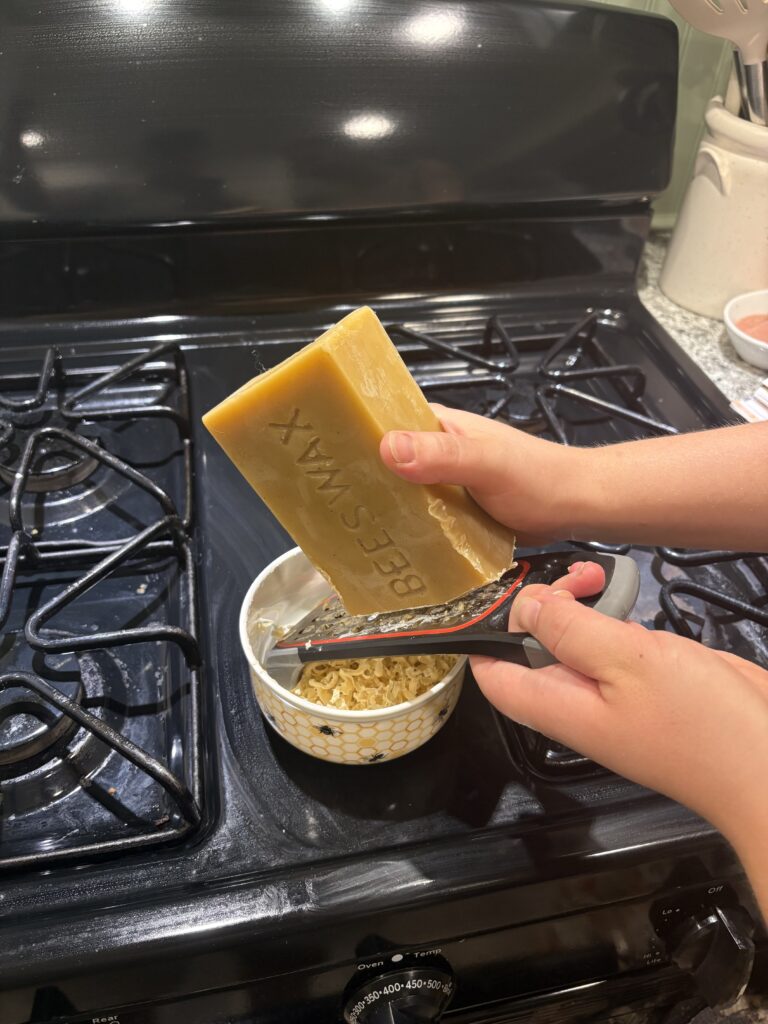
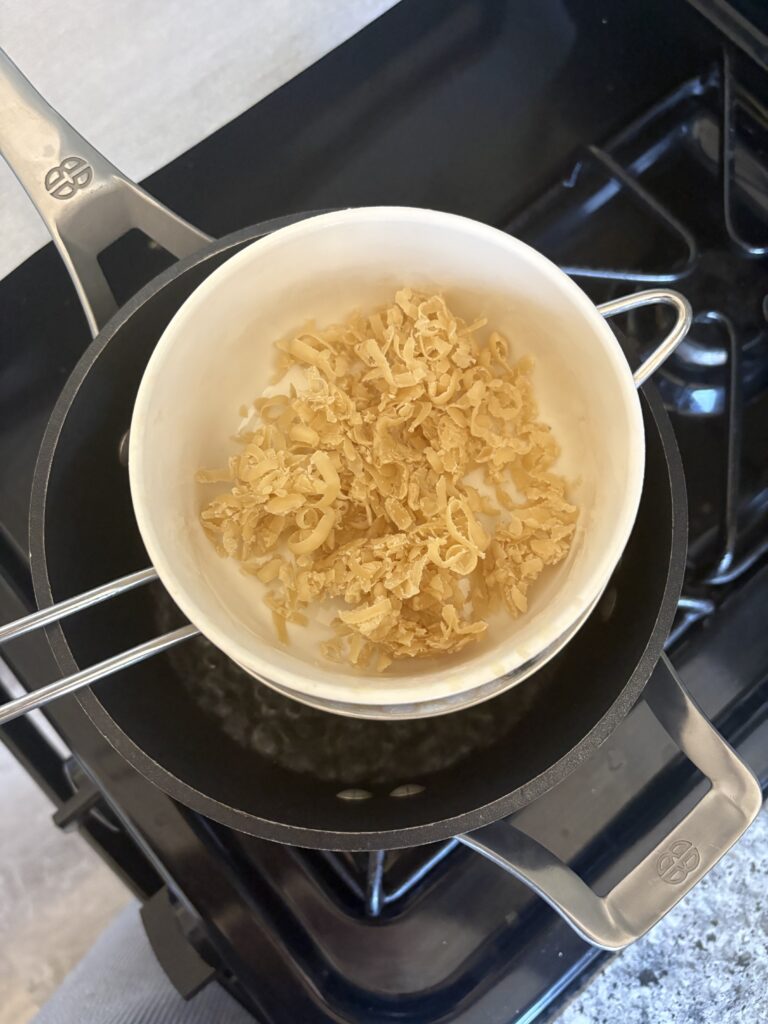
If you have a beeswax bar, like I do, just grate the bar. Then, weigh the beeswax to get the right consistency for the beeswax wraps. Be sure to use an old grater(NOT the one you use in your kitchen) because it will be very hard to get the beeswax off of it.
What are the Measurements?
If you read the “how-to” section, you might be wondering how much of everything do you use?! Because this varies widely with how much wraps you are making and the size of the fabric, I will give some guides here.
The weight ratio of beeswax to pine resin to jojoba/castor oil is 3.5 parts beeswax to 1 part pine resin to 1 part oil. Using a kitchen scale, start off with 35g of beeswax pellets, 10g of pine resin, and 10g of whatever oil you’re using. Jojoba oil is the preferred oil because the qualities suit beeswax wraps the best because it is technically a liquid plant wax. Castor oil or coconut oil can also work. Avoid substituting olive oil because it becomes rancid quickly and has a musty smell to it. Avoid any vegetable, sunflower, grapeseed, or corn oil because these will start smelling after just a few months.
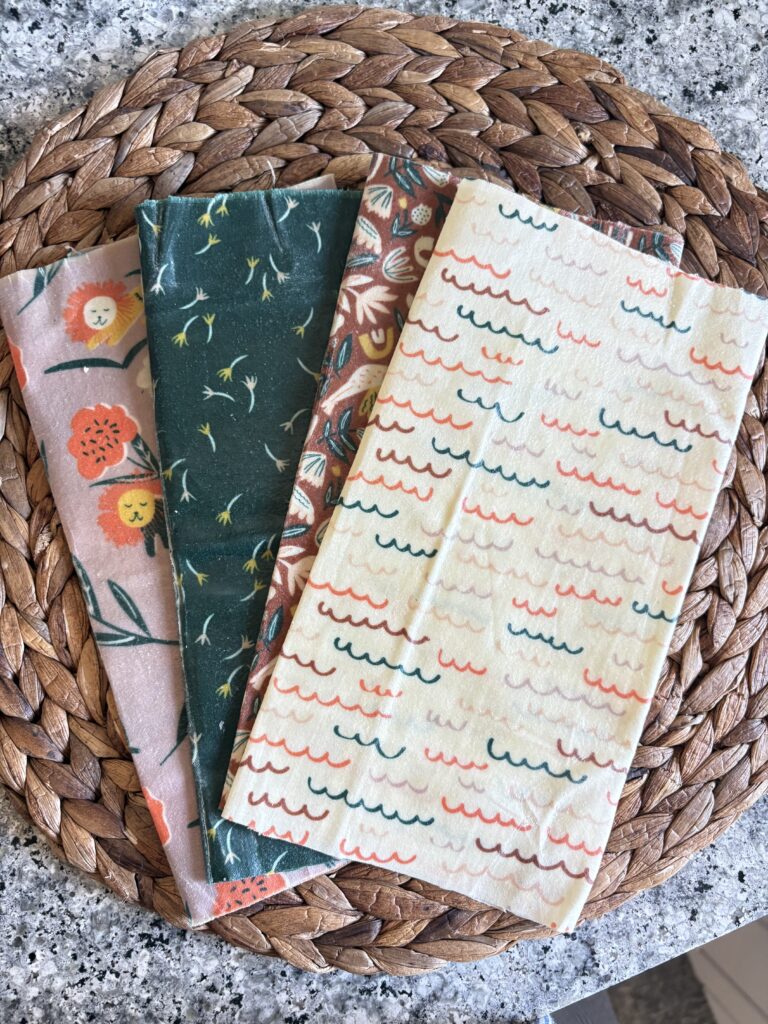
How to Use Beeswax Wraps
Use the warmth of your hands to help the beeswax wrap mold tightly onto the bowls or food items, that way you have an air-tight closure. If you notice that it needs some more stickiness, you can reapply some beeswax and place in the oven for a bit again to renew it. When you need to clean the beeswax wraps, use some warm water with soap, but make sure it’s not too hot, or else the beeswax will melt right off your wrap.
If you try out making these be sure to show us your beeswax wraps either by tagging us on IG or emailing us with your results!
Leave a Reply